Which PlatformIO?
On the PlatformIO website, there is a clear distinction made between the PlatformIO Core and the PlatformIO IDE.
The PlatformIO IDE is built on top of Microsoft’s Visual Studio Code, and we will NOT discuss here.
The PlatformIO Core was formerly called PlatformIO CLI, since it is a Command Line Interface to a tool that consists of a multi-platform build system, platform and library managers and other integration components.
It’s written in pure Python and works without any dependencies to host machine or third party software.
The PlatformIO Core installation is described at
https://docs.platformio.org/en/latest/core/installation.html.
Use the Linux command line
I develop embedded software for my hobby projects, and hence try to avoid annoying products from big companies that are made to earn profit, so I use a PC with the latest OpenSUSE Leap.
The installation method described here will work on most Linux distributions.
We will work on the command line (bash).

Install python
There is no need to install Python on a modern Linux PC, it is already there. You need at least Python version 3.6, which you can check on the command line as follows:
michiel@Delphinus:~> python --version
Python 3.6.15
michiel@Delphinus:~>
My Python version is a bit old, in fact, it is already EOL according www.python.org, but it is sufficient for PlatformIO.
In the PlatformIO documentation, sometimes the command python3 is used. You can replace that by python.
In the past time, there was such a thing as python version 2 and version 3 which could both be installed on the same system. Hence there were the commands python2 and python3 and python - and the latter was then configurable to execute one of the former ones.
michiel@Delphinus:~> python3 --version
Python 3.6.15
michiel@Delphinus:~> python2 --version
If 'python2' is not a typo you can use command-not-found to lookup the package that contains it, like this:
    cnf python2
michiel@Delphinus:~>
Install curl or wget
You will need either curl or wget installed on your system. Check as follows:
michiel@Delphinus:~> curl -V
curl 8.6.0 (x86_64-suse-linux-gnu) ...
...
michiel@Delphinus:~> wget -V
GNU Wget 1.20.3 built on linux-gnu.
...
If neither is present on your system, install them with the package manager of your distribution.
The Python virtual environment
PlatformIO Core may be installed into an isolated Python environment. This method is very good since you don’t need to install PlatformIO Core Python’s dependencies (packages) into your global system scope.
This means that you can build different projects each in their own environment with their own installed versions of all needed software. And this simultanously, if you would like to.
Or, as explaned by the virtualenv command authors:
virtualenv is a tool to create isolated Python environments. The basic problem being addressed is one of dependencies and versions, and indirectly permissions. Imagine you have an application that needs version 1 of LibFoo, but another application requires version 2. Or more generally, what if you want to install an application and leave it be? If an application works, any change in its libraries or the versions of those libraries can break the application. Also, what if you can’t install packages into the global site-packages directory? For instance, on a shared host. In all these cases, virtualenv can help you. It creates an environment that has its own installation directories, that doesnt share libraries with other virtualenv environments (and optionally doesn’t use the globally installed libraries either).
Make sure the virtualenv command exists in your system by:
michiel@Delphinus:~> virtualenv --version
virtualenv 20.22.0 from /usr/lib/python3.11/site-packages/virtualenv/__init__.py
michiel@Delphinus:~>
If virtualenv is not present on your system, install it with the package manager of your distribution. On my OpenSUSE, the package name is python311-virtualenv.
Do not use the command pip install virtualenv as advised by the PlatformIO people - using the system’s package manager allows you to keep virtualenv up to date together with all the other software on your system.
Download the PlatformIO installation script
Download the installer in the folder ~/development/platformio with either curl or wget:
cd ~/development/platformio
curl -fsSL https://raw.githubusercontent.com/platformio/platformio-core-installer/master/get-platformio.py -o get-platformio.py
or
cd ~/development/platformio
wget -O get-platformio.py https://raw.githubusercontent.com/platformio/platformio-core-installer/master/get-platformio.py
Execute the installation script
Finally, execute the command to install PlatformIO itself:
python get-platformio.py
Or maybe you have to use the command python3 instead of python, as described above.
As the result of the above command, the following (imperfect) explanation appears:
PlatformIO Core has been successfully installed into an isolated environment `/home/michiel/.platformio/penv`!

The full path to `platformio.exe` is `/home/michiel/.platformio/penv/bin/platformio`

If you need an access to `platformio.exe` from other applications, please install Shell Commands
(add PlatformIO Core binary directory `/home/michiel/.platformio/penv/bin` to the system environment PATH variable):

See https://docs.platformio.org/page/installation.html#install-shell-commands
The above description is imperfect since:
- you have to read “platformio.exe” as “the PlatformIO executable”.
- you do not need to change the system
PATHvariable since we will usevirtualenv. - the given URL is not correct, it should point to https://docs.platformio.org/en/latest/core/installation/shell-commands.html#piocore-install-shell-commands - which we should not follow.
Install the shell commands
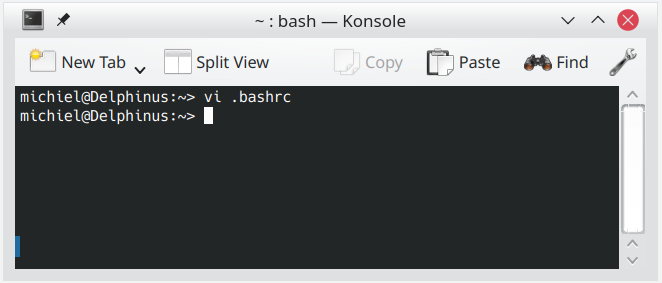
In the file ~/.bashrc add the following at the bottom of the file:
alias get_pio='source ~/.platformio/penv/bin/activate'

From now on, we can just run “get_pio” to start using PlatformIO!
What is the workflow
So, how do we work with PlatformIO?
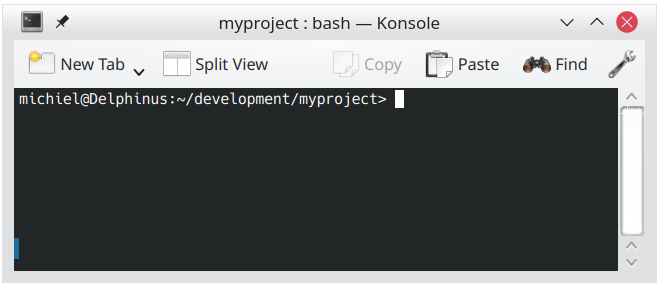
Suppose we have a project or we want to create a project in the folder ~/development/myproject.
Then we open a command box with bash in a new terminal window in this folder - or we cd into this folder.
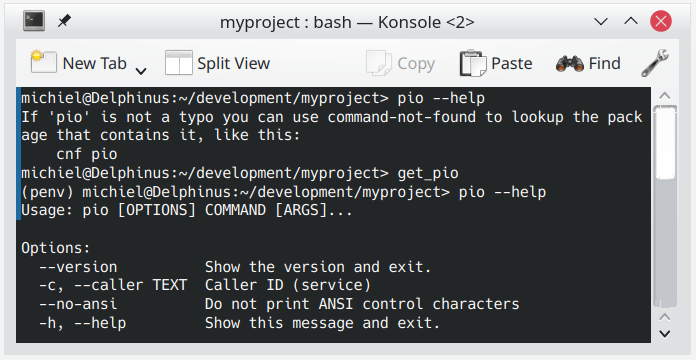
Then we type the command get_pio.
michiel@Delphinus:~/development/myproject> get_pio
(penv) michiel@Delphinus:~/development/myproject>
As a result the prompt changes, which indicates that we now can use the PlatformIO command pio.:
(penv) michiel@Delphinus:~/development/myproject> pio --help
Usage: pio [OPTIONS] COMMAND [ARGS]...
...

The terminal window remains in the virtual pio environment until it is closed. If you open another terminal window, you have to enter the get_pio command again to be able to use PlatformIO.
Update the installation
After a while, you may want to update your PlatformIO installation to the latest version. You can do that as follows:
cd ~/development/platformio
wget -O get-platformio.py https://raw.githubusercontent.com/platformio/platformio-core-installer/master/get-platformio.py
python get-platformio.py