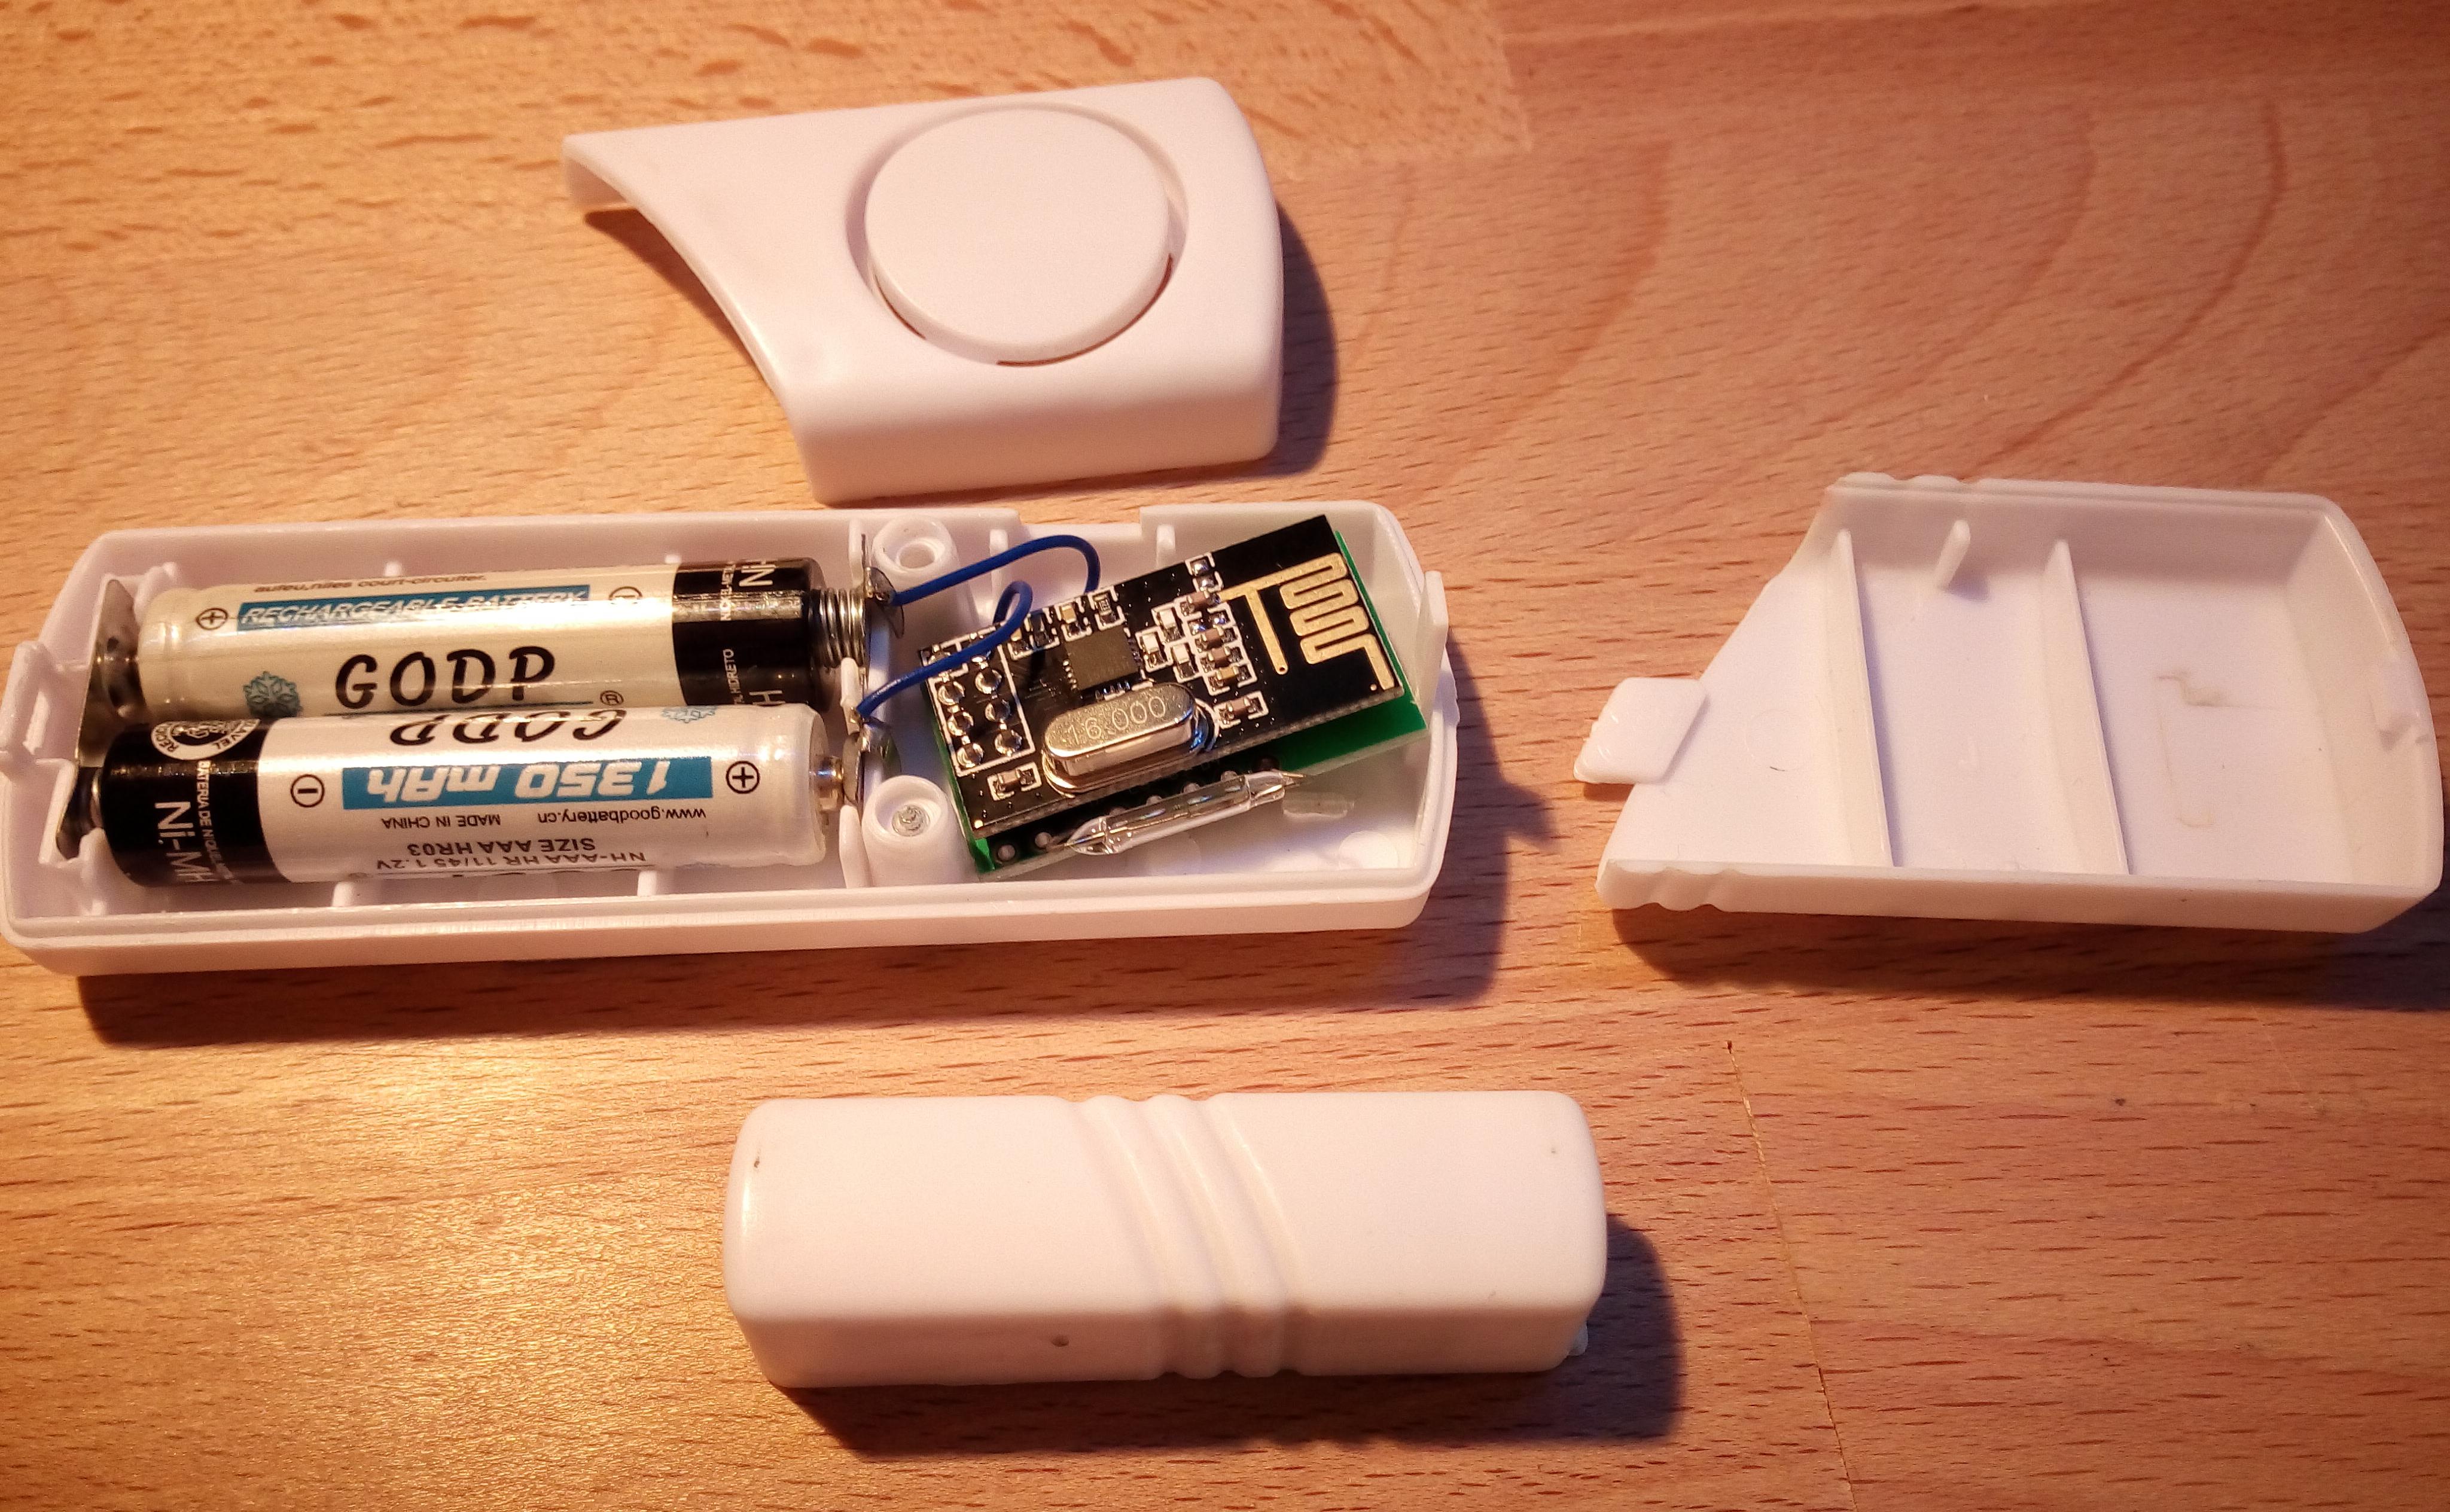
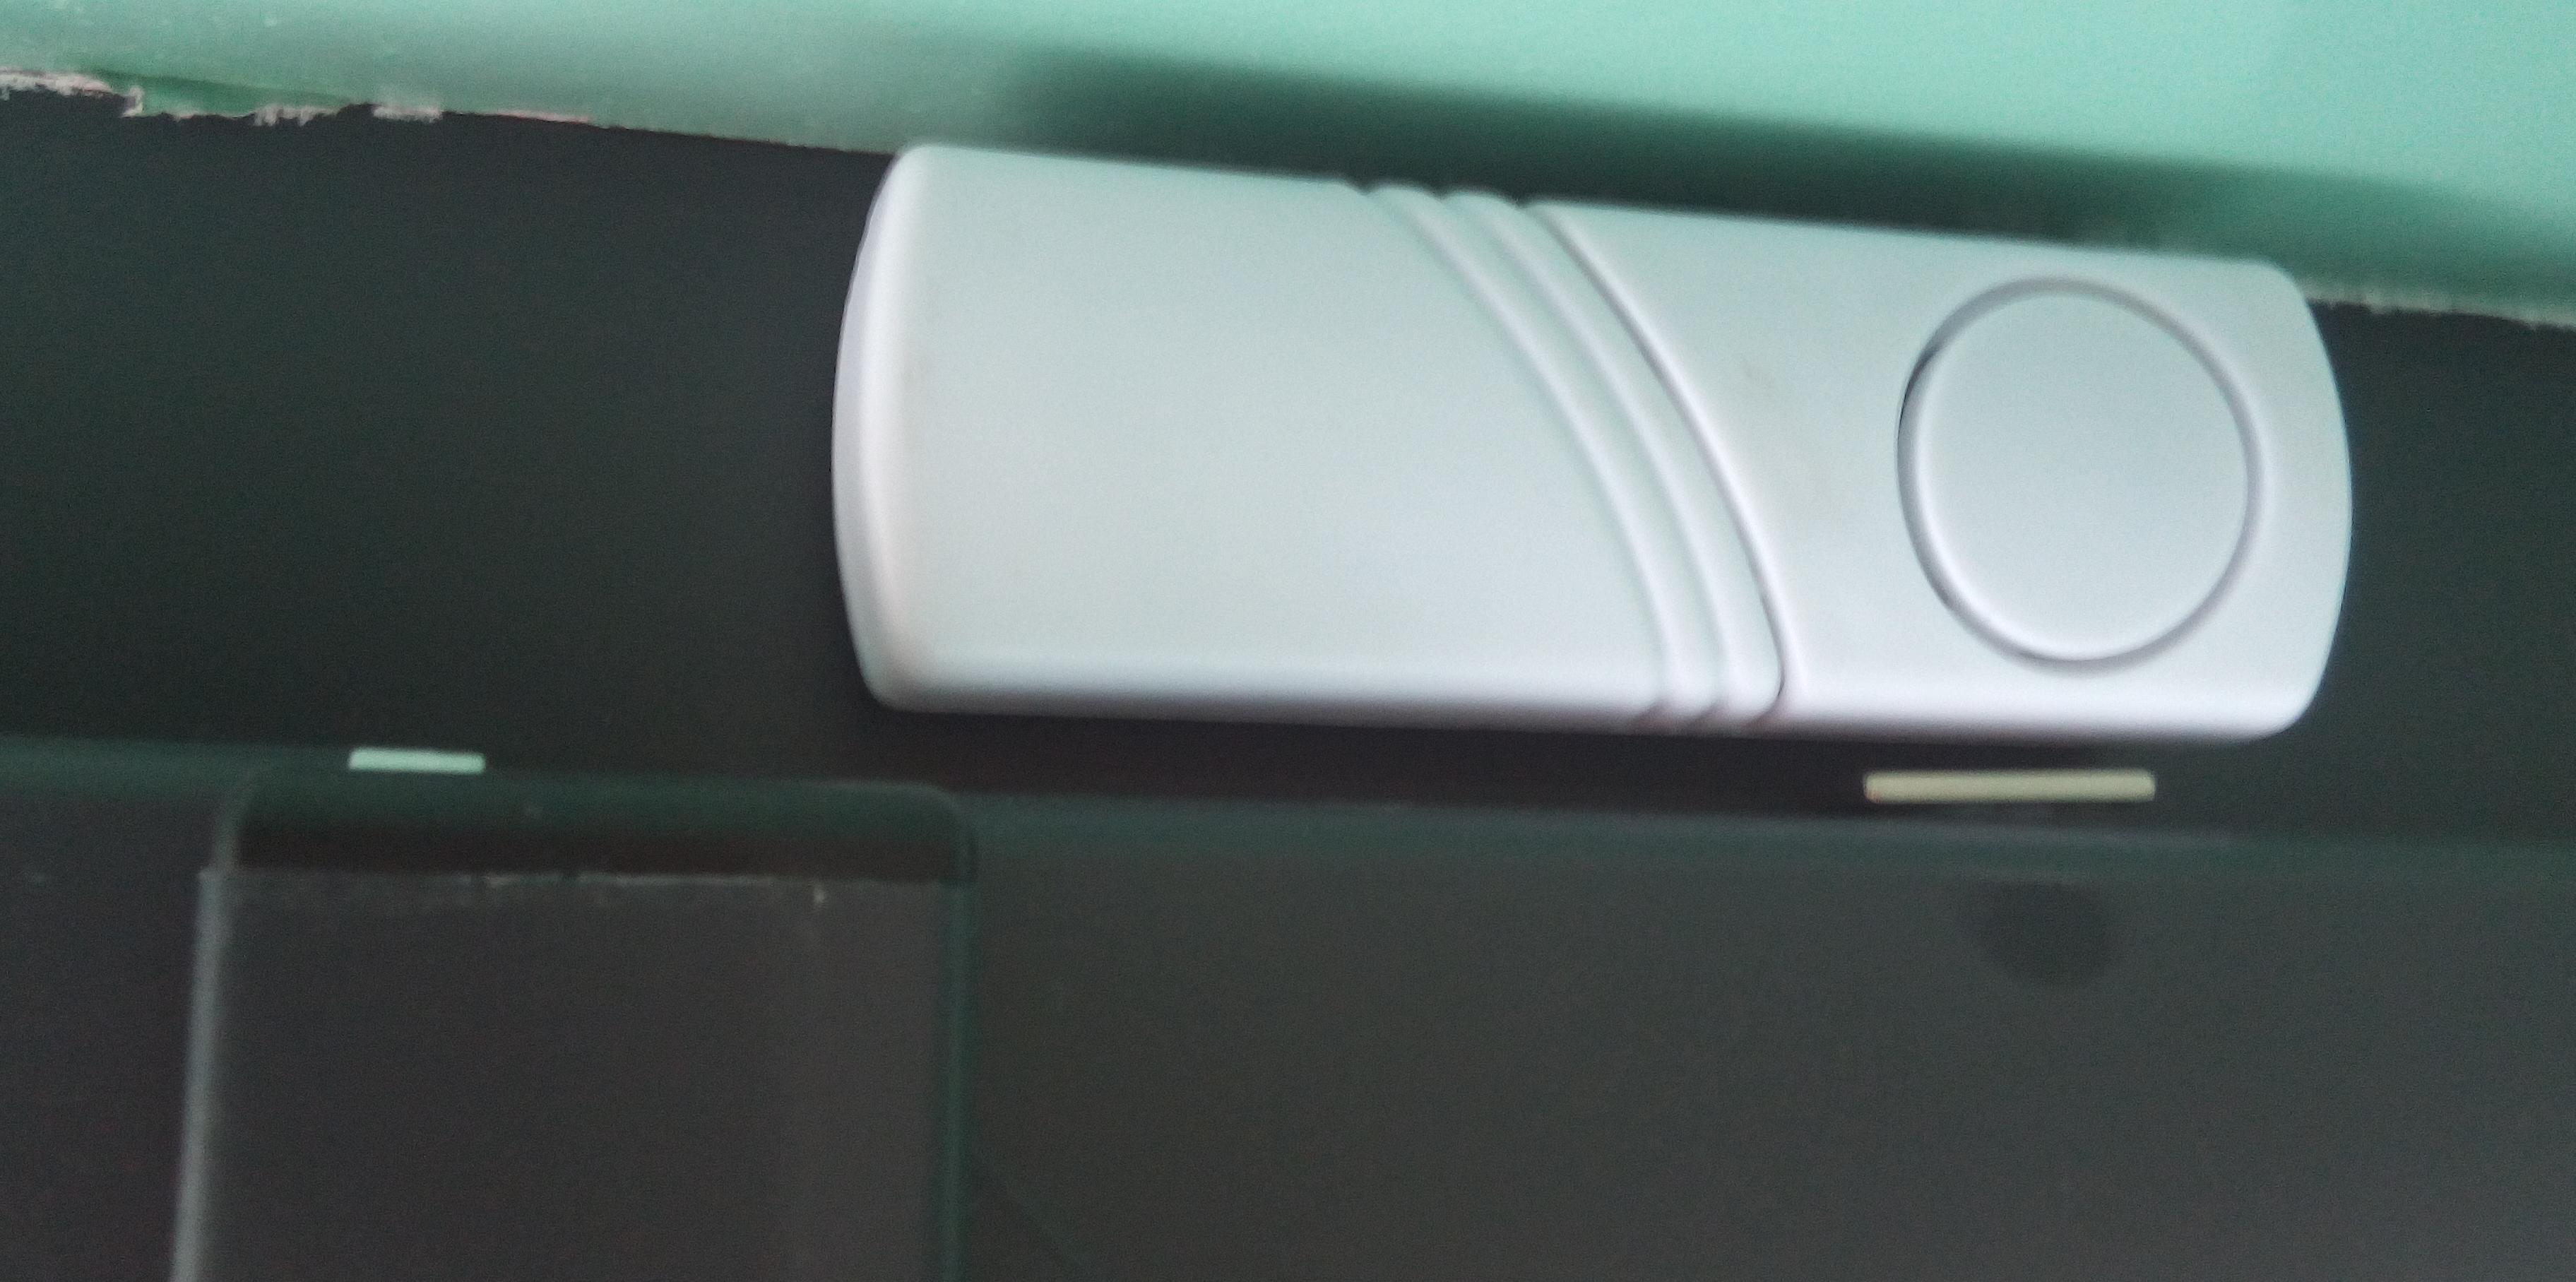
This Window Open Sensor (WOS) has a great WAF because it makes use of a nice case, harvested from a very cheap window alarm. This alarm module holds two AAA batteries and has a switch, a buzzer, a magnet and a reed contact.
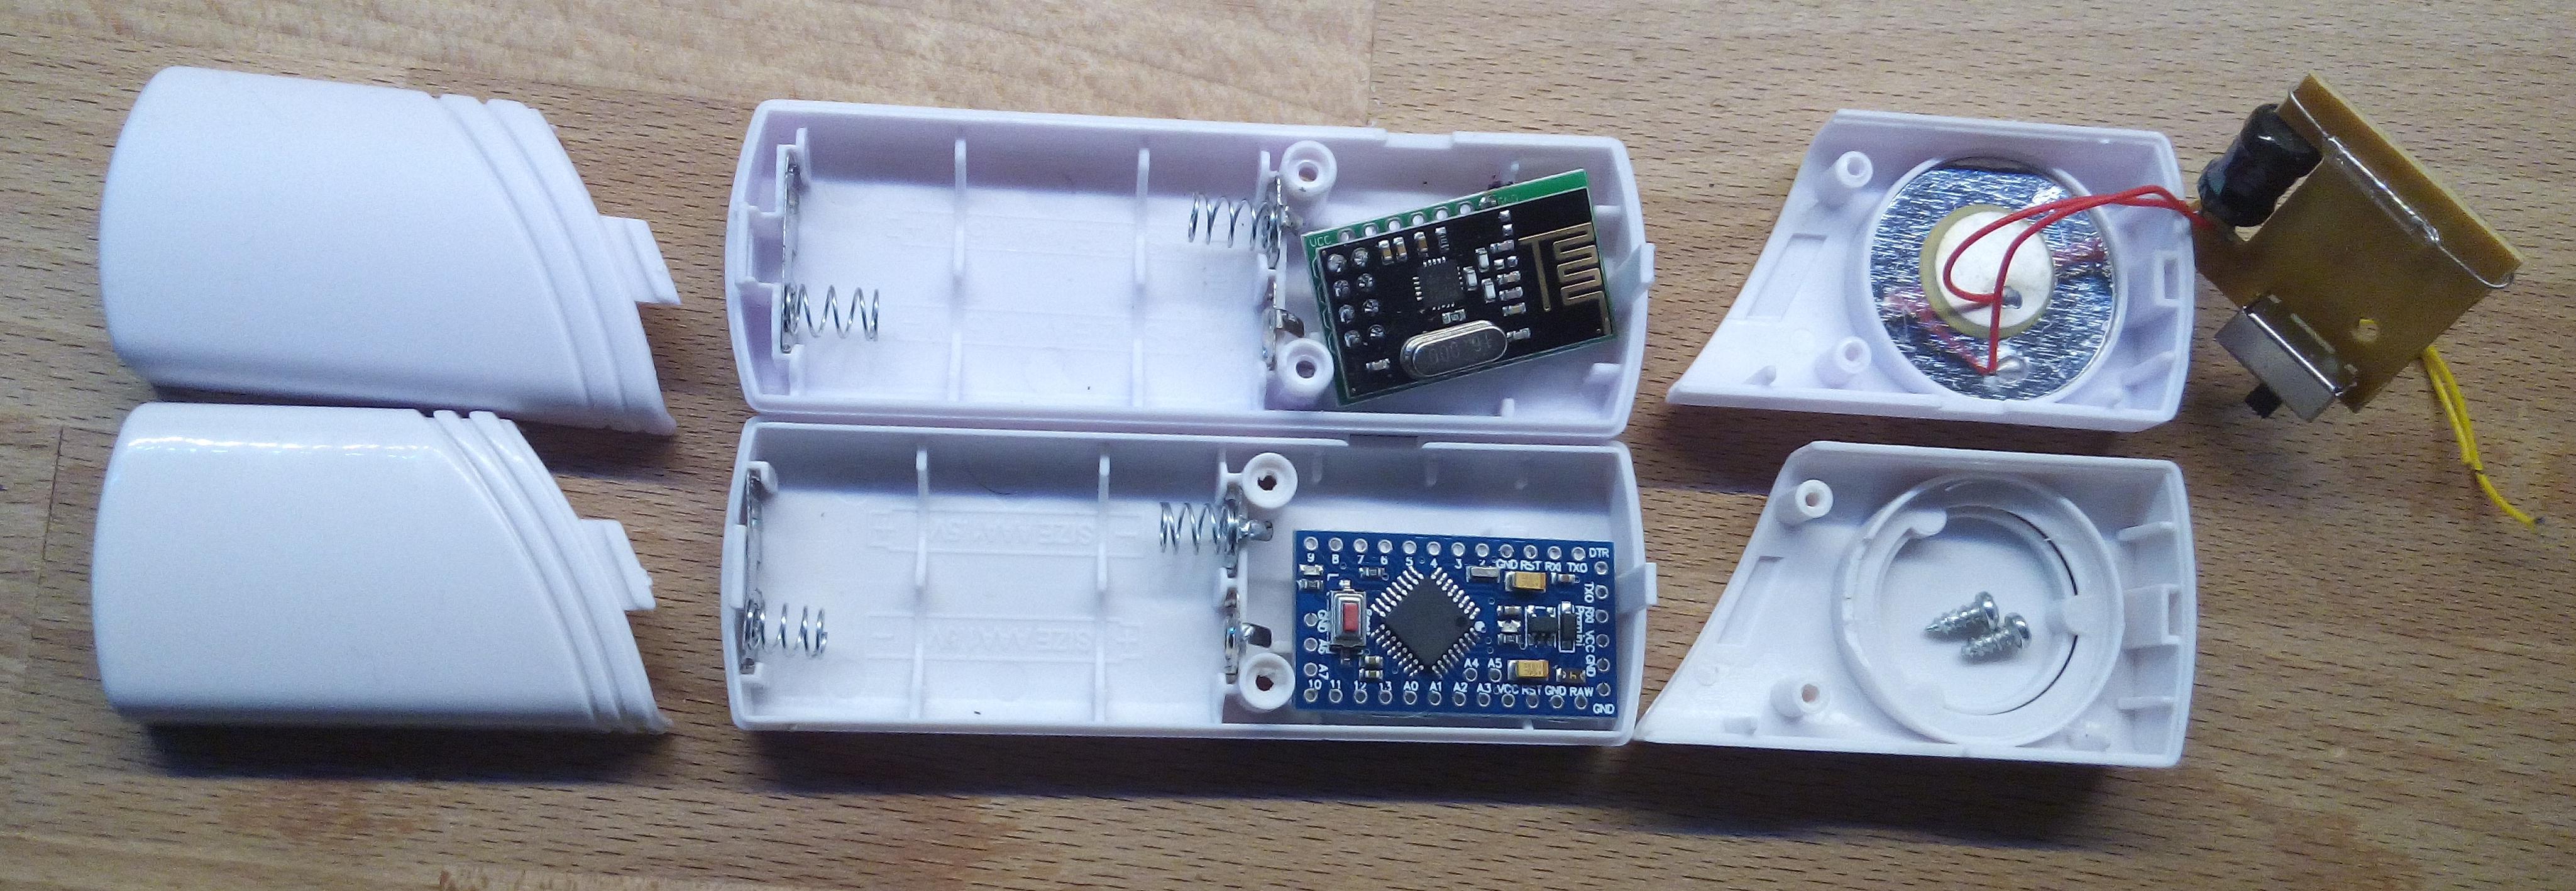
We remove the electronics, the buzzer and the switch. Then we replace the electronics with a Sensebender with NRF24L01+ module, which just fits inside.
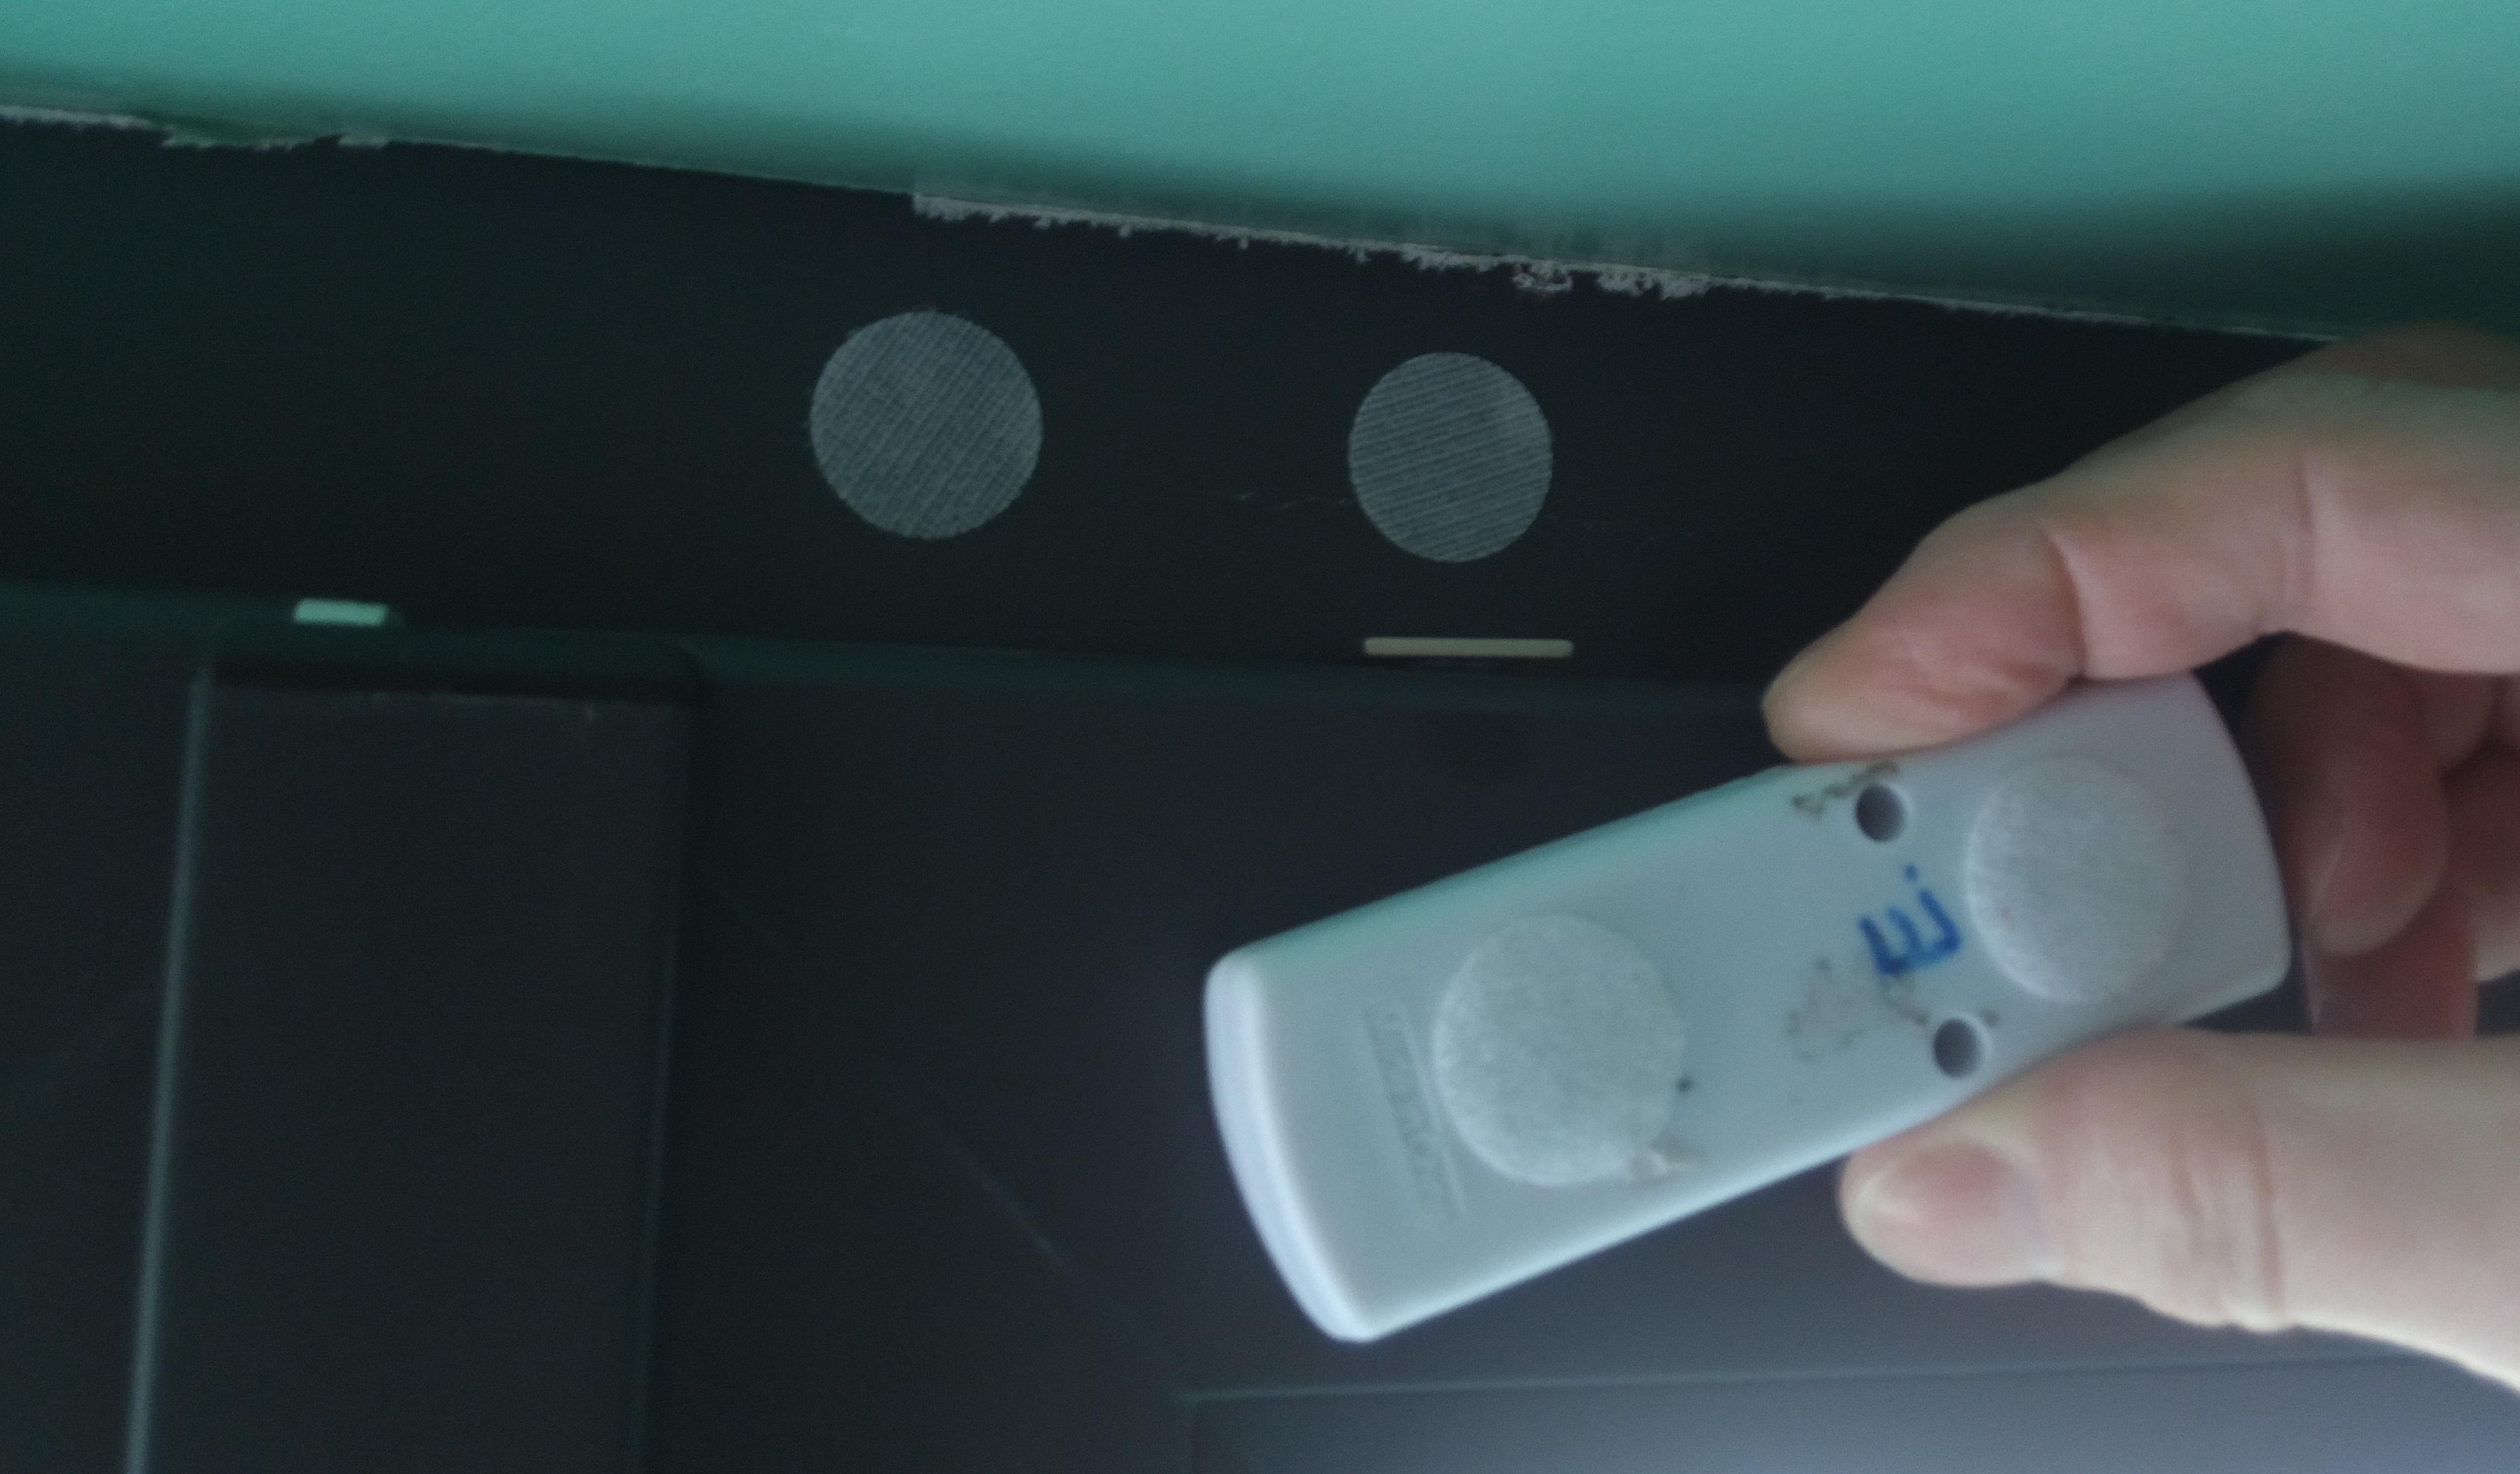
You can use the delivered magnet, but the one in the BOM is much smaller. So I glue that on the window instead. The module can be fixed on the window with two of the loop/hook (velcro) pads listed in the BOM, which works far better that the self-adhesive tape that comes standard on the alarm module.
BOM: Used Components
- WindowOpenAlarm with magnet
- SensebenderMicro
- NRF24L01Plus
- Reed contact (can be replaced by a SL353LT Hall effect sensor)
- Magnet block Neodymium Magnet NdFeB 20x10x3mm
- Sticky Dots Self Adhesive Hook and Loop 20mm
Preparation of the alarm module
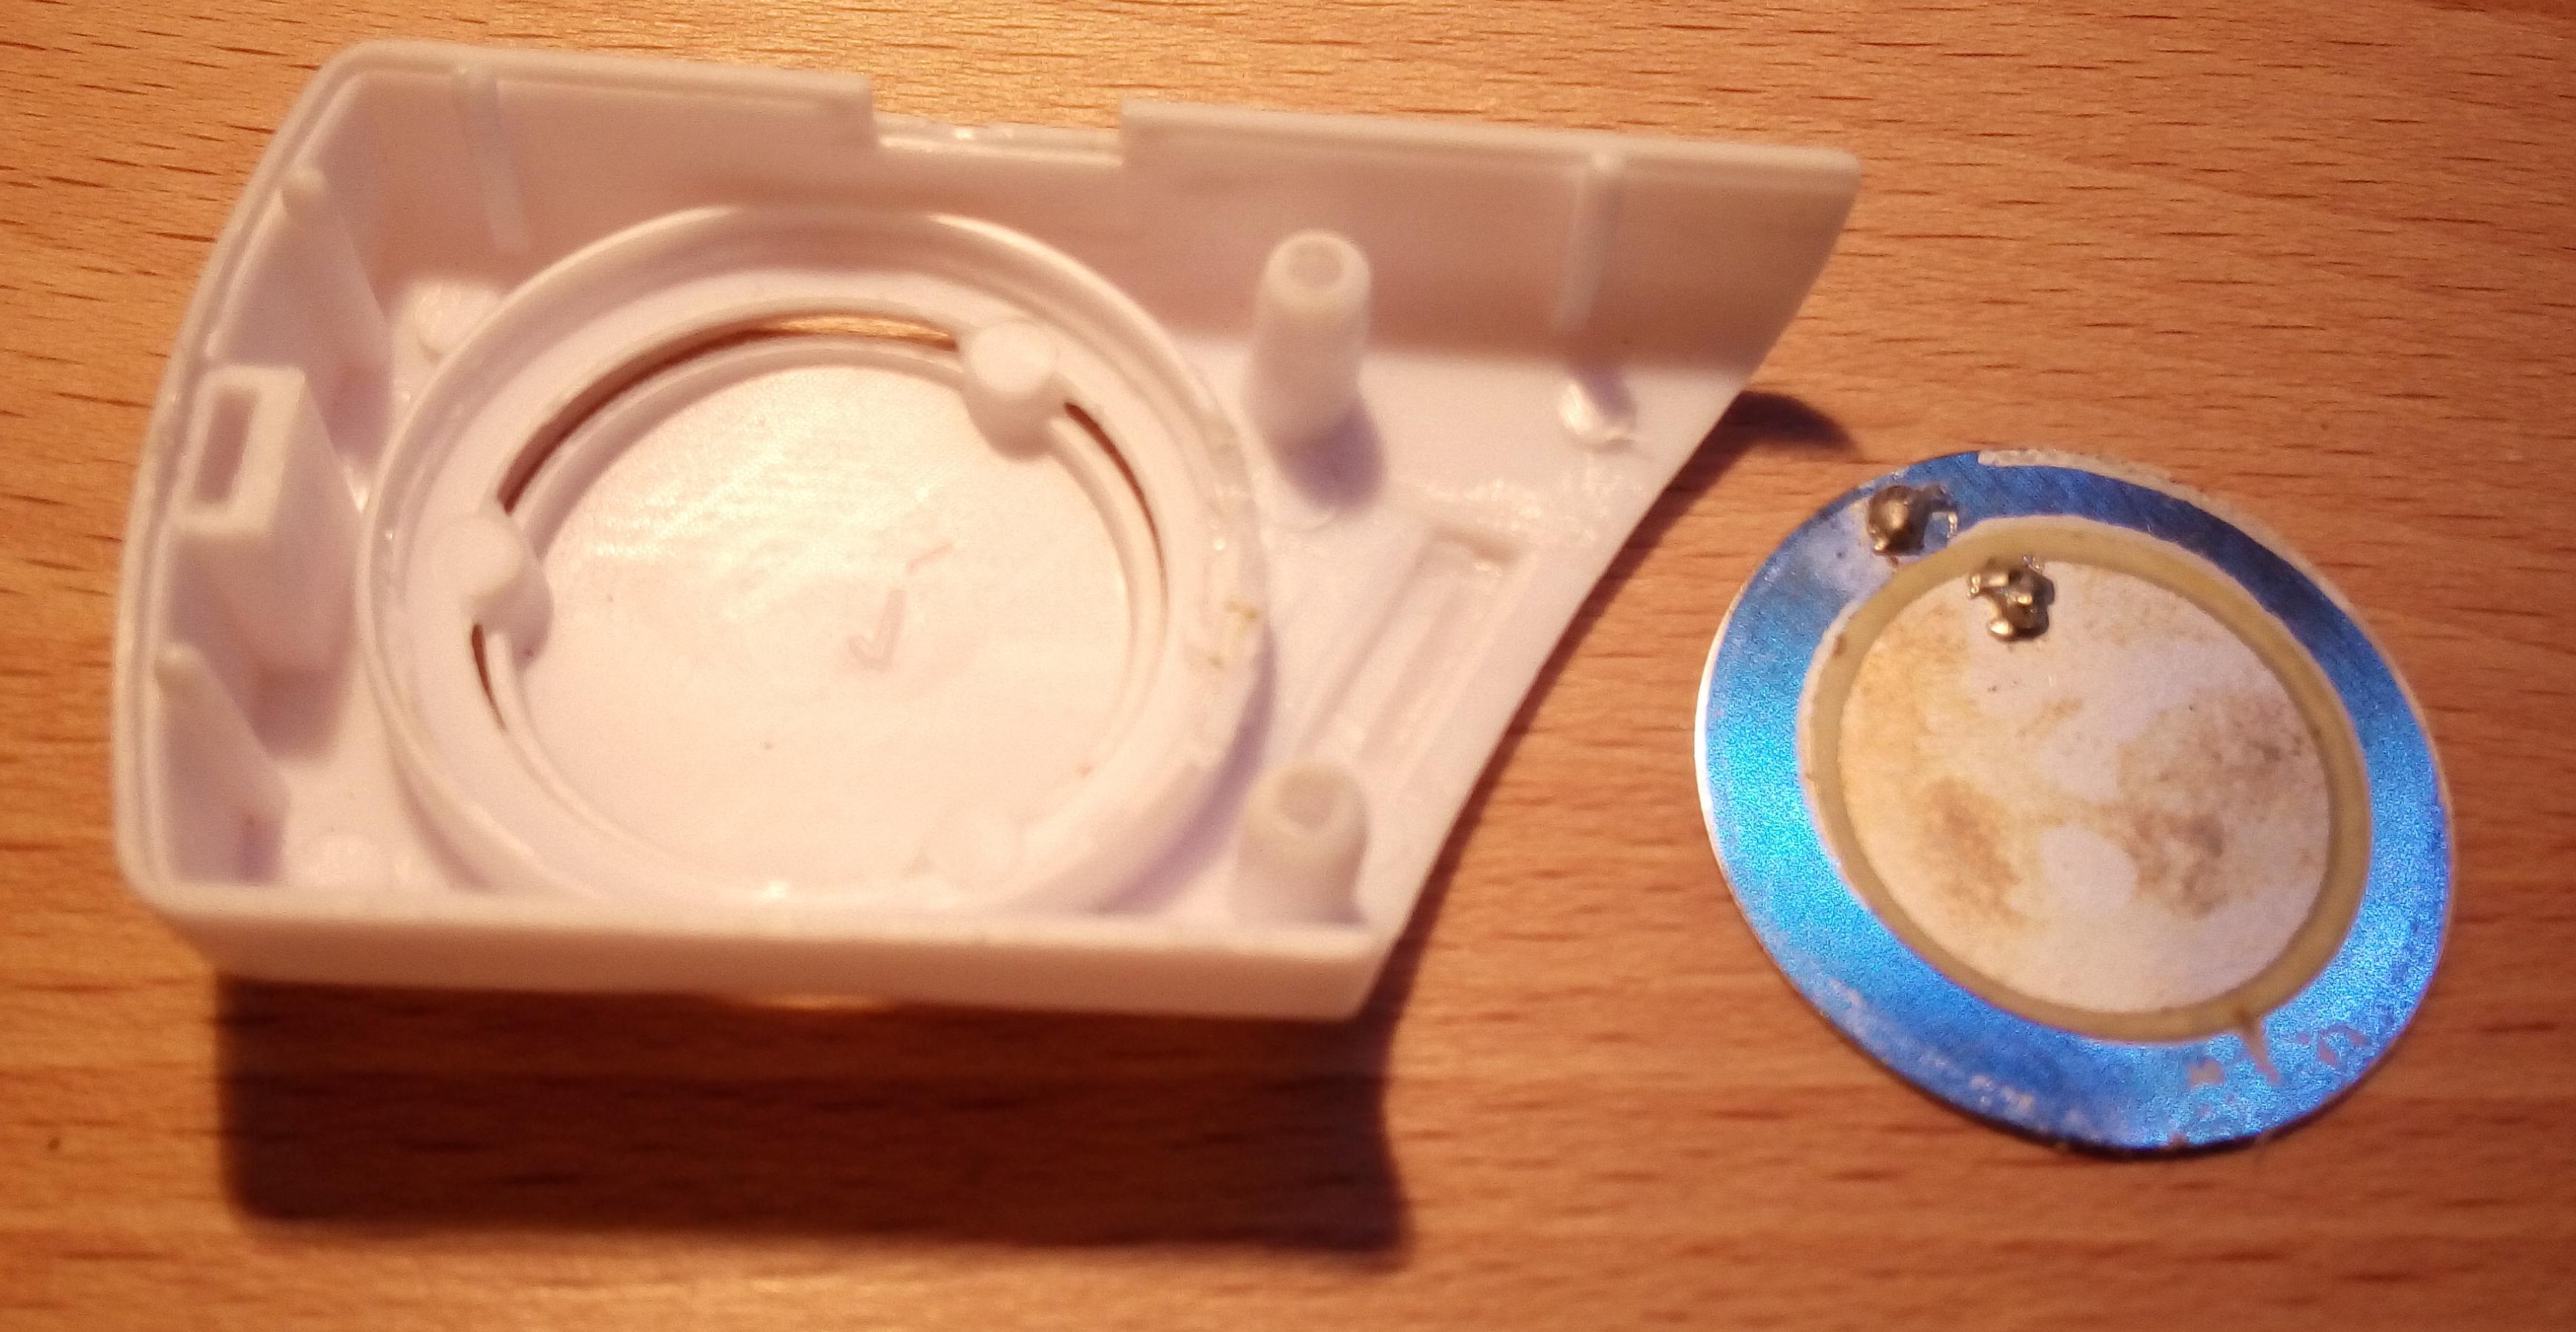
Prepare for fitting a SensebenderMicro and radio:
- Cut the two plastic studs.
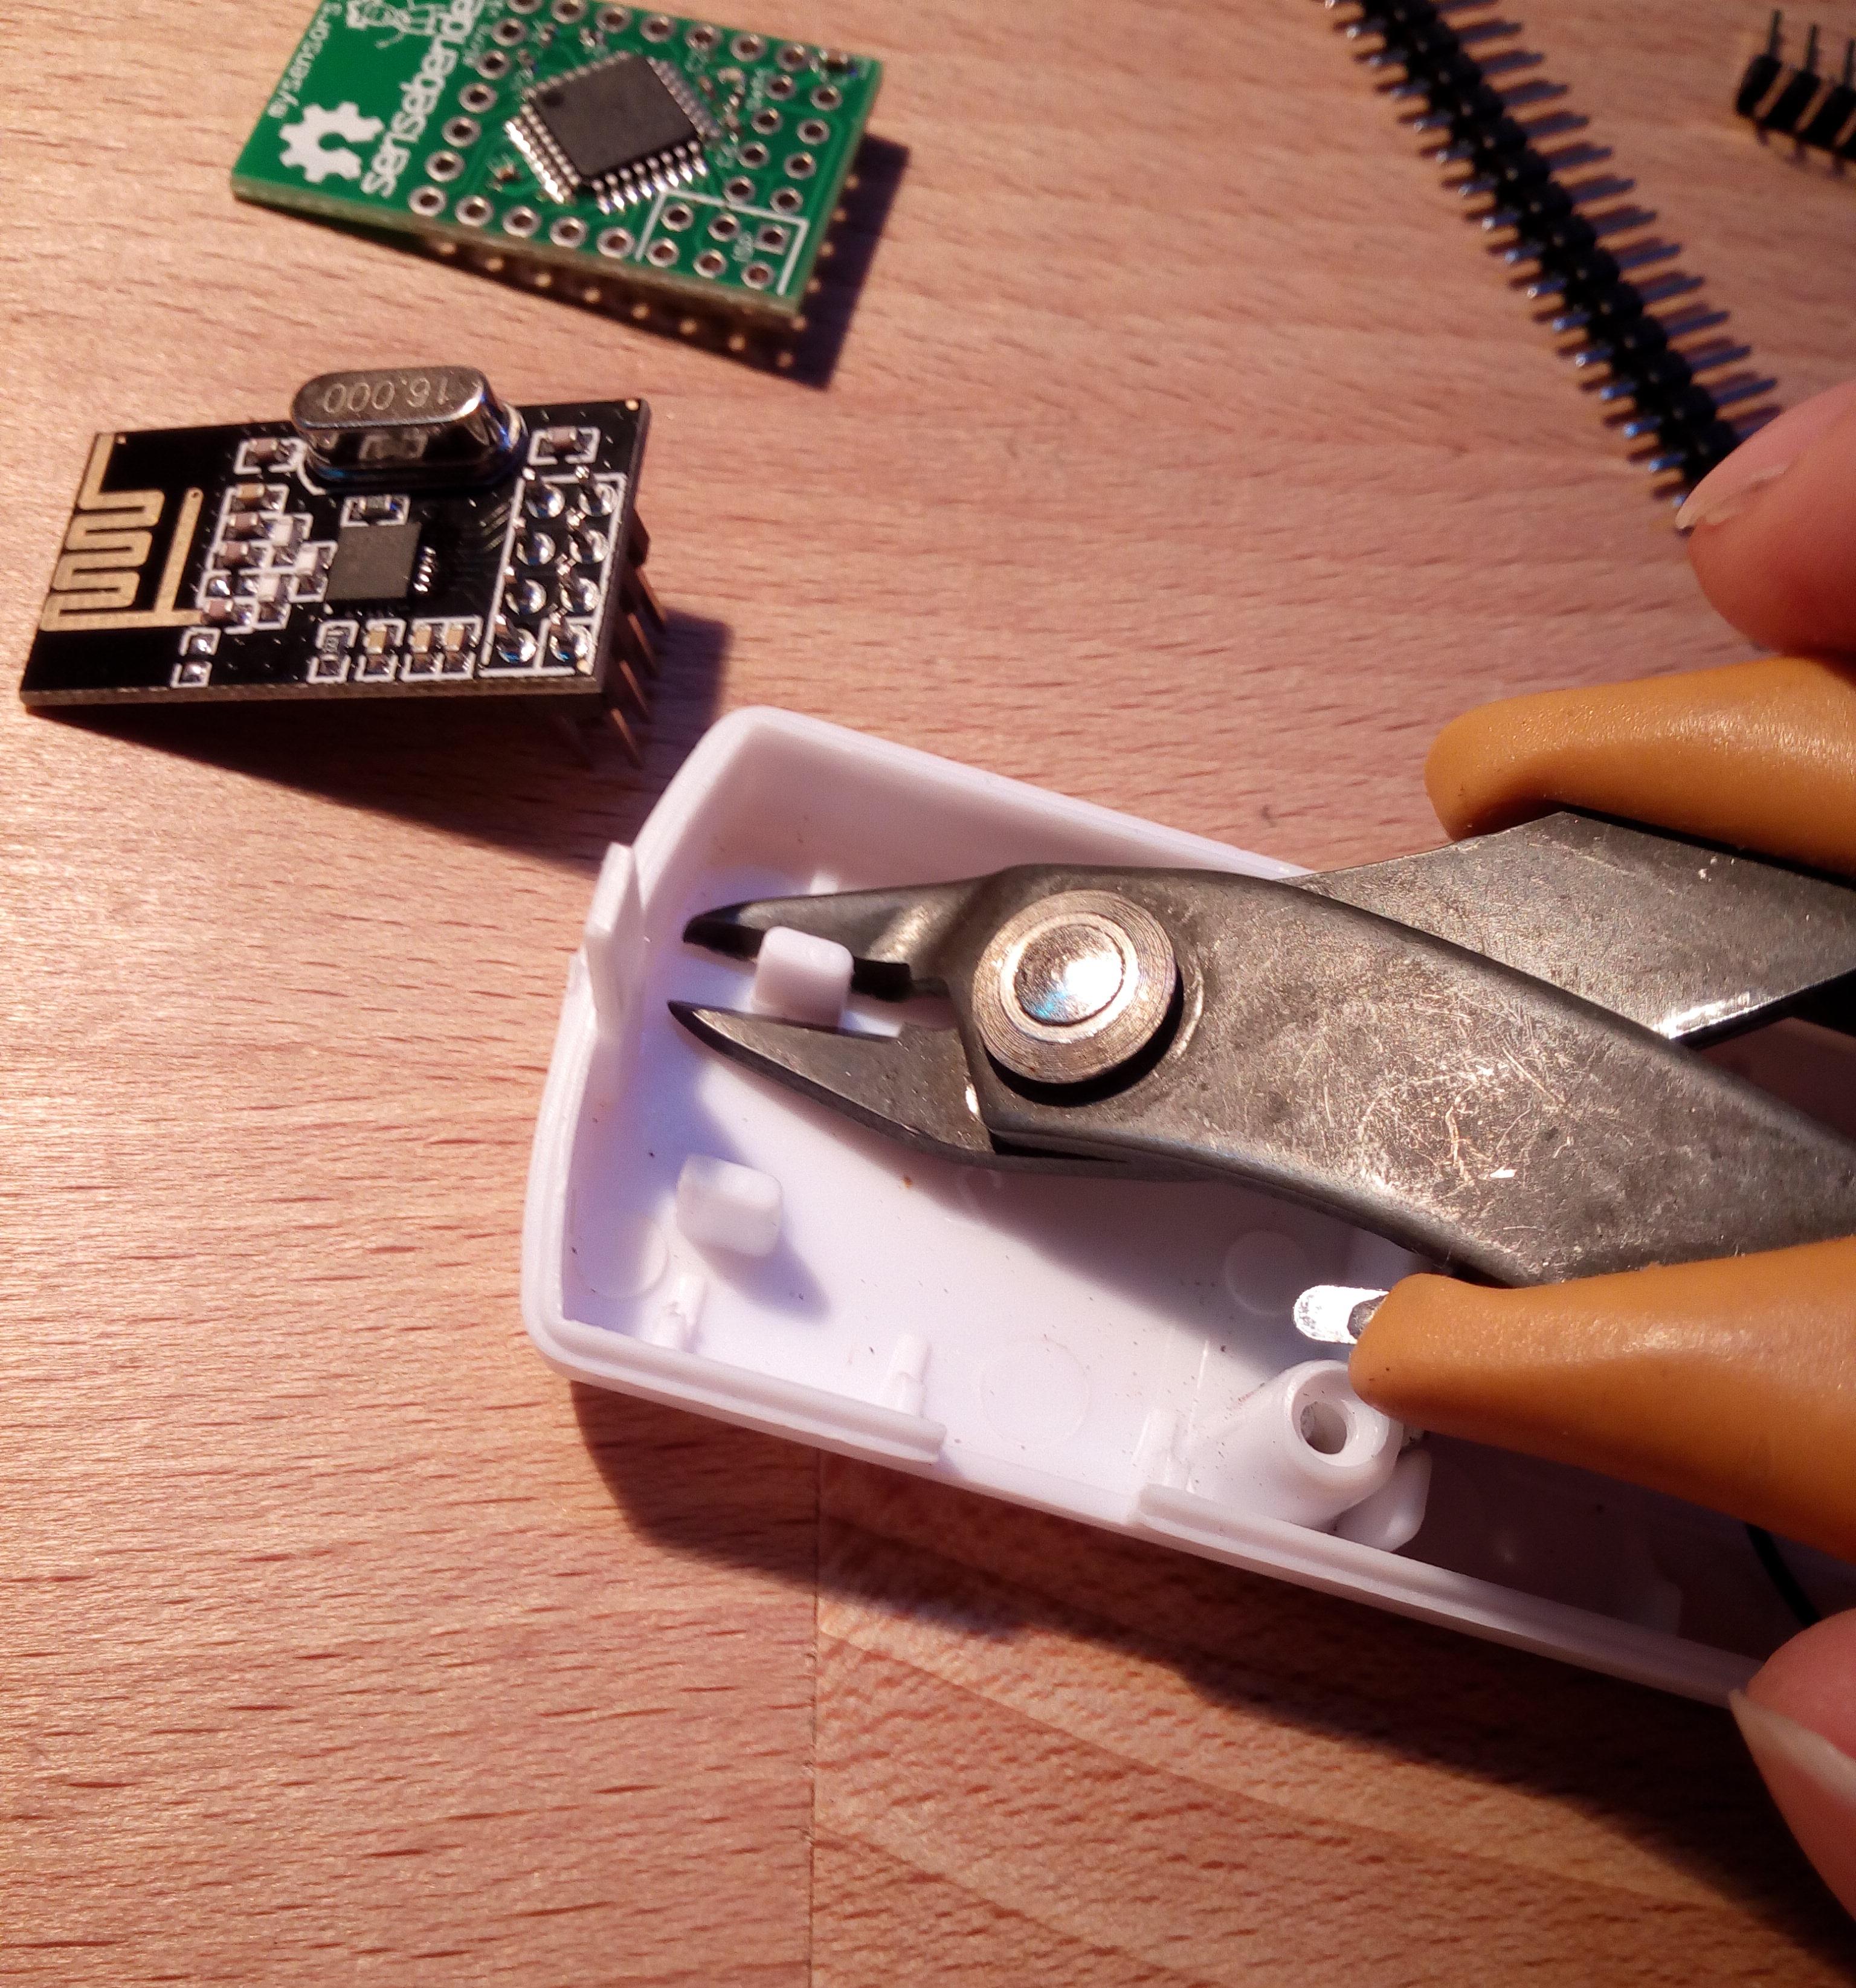
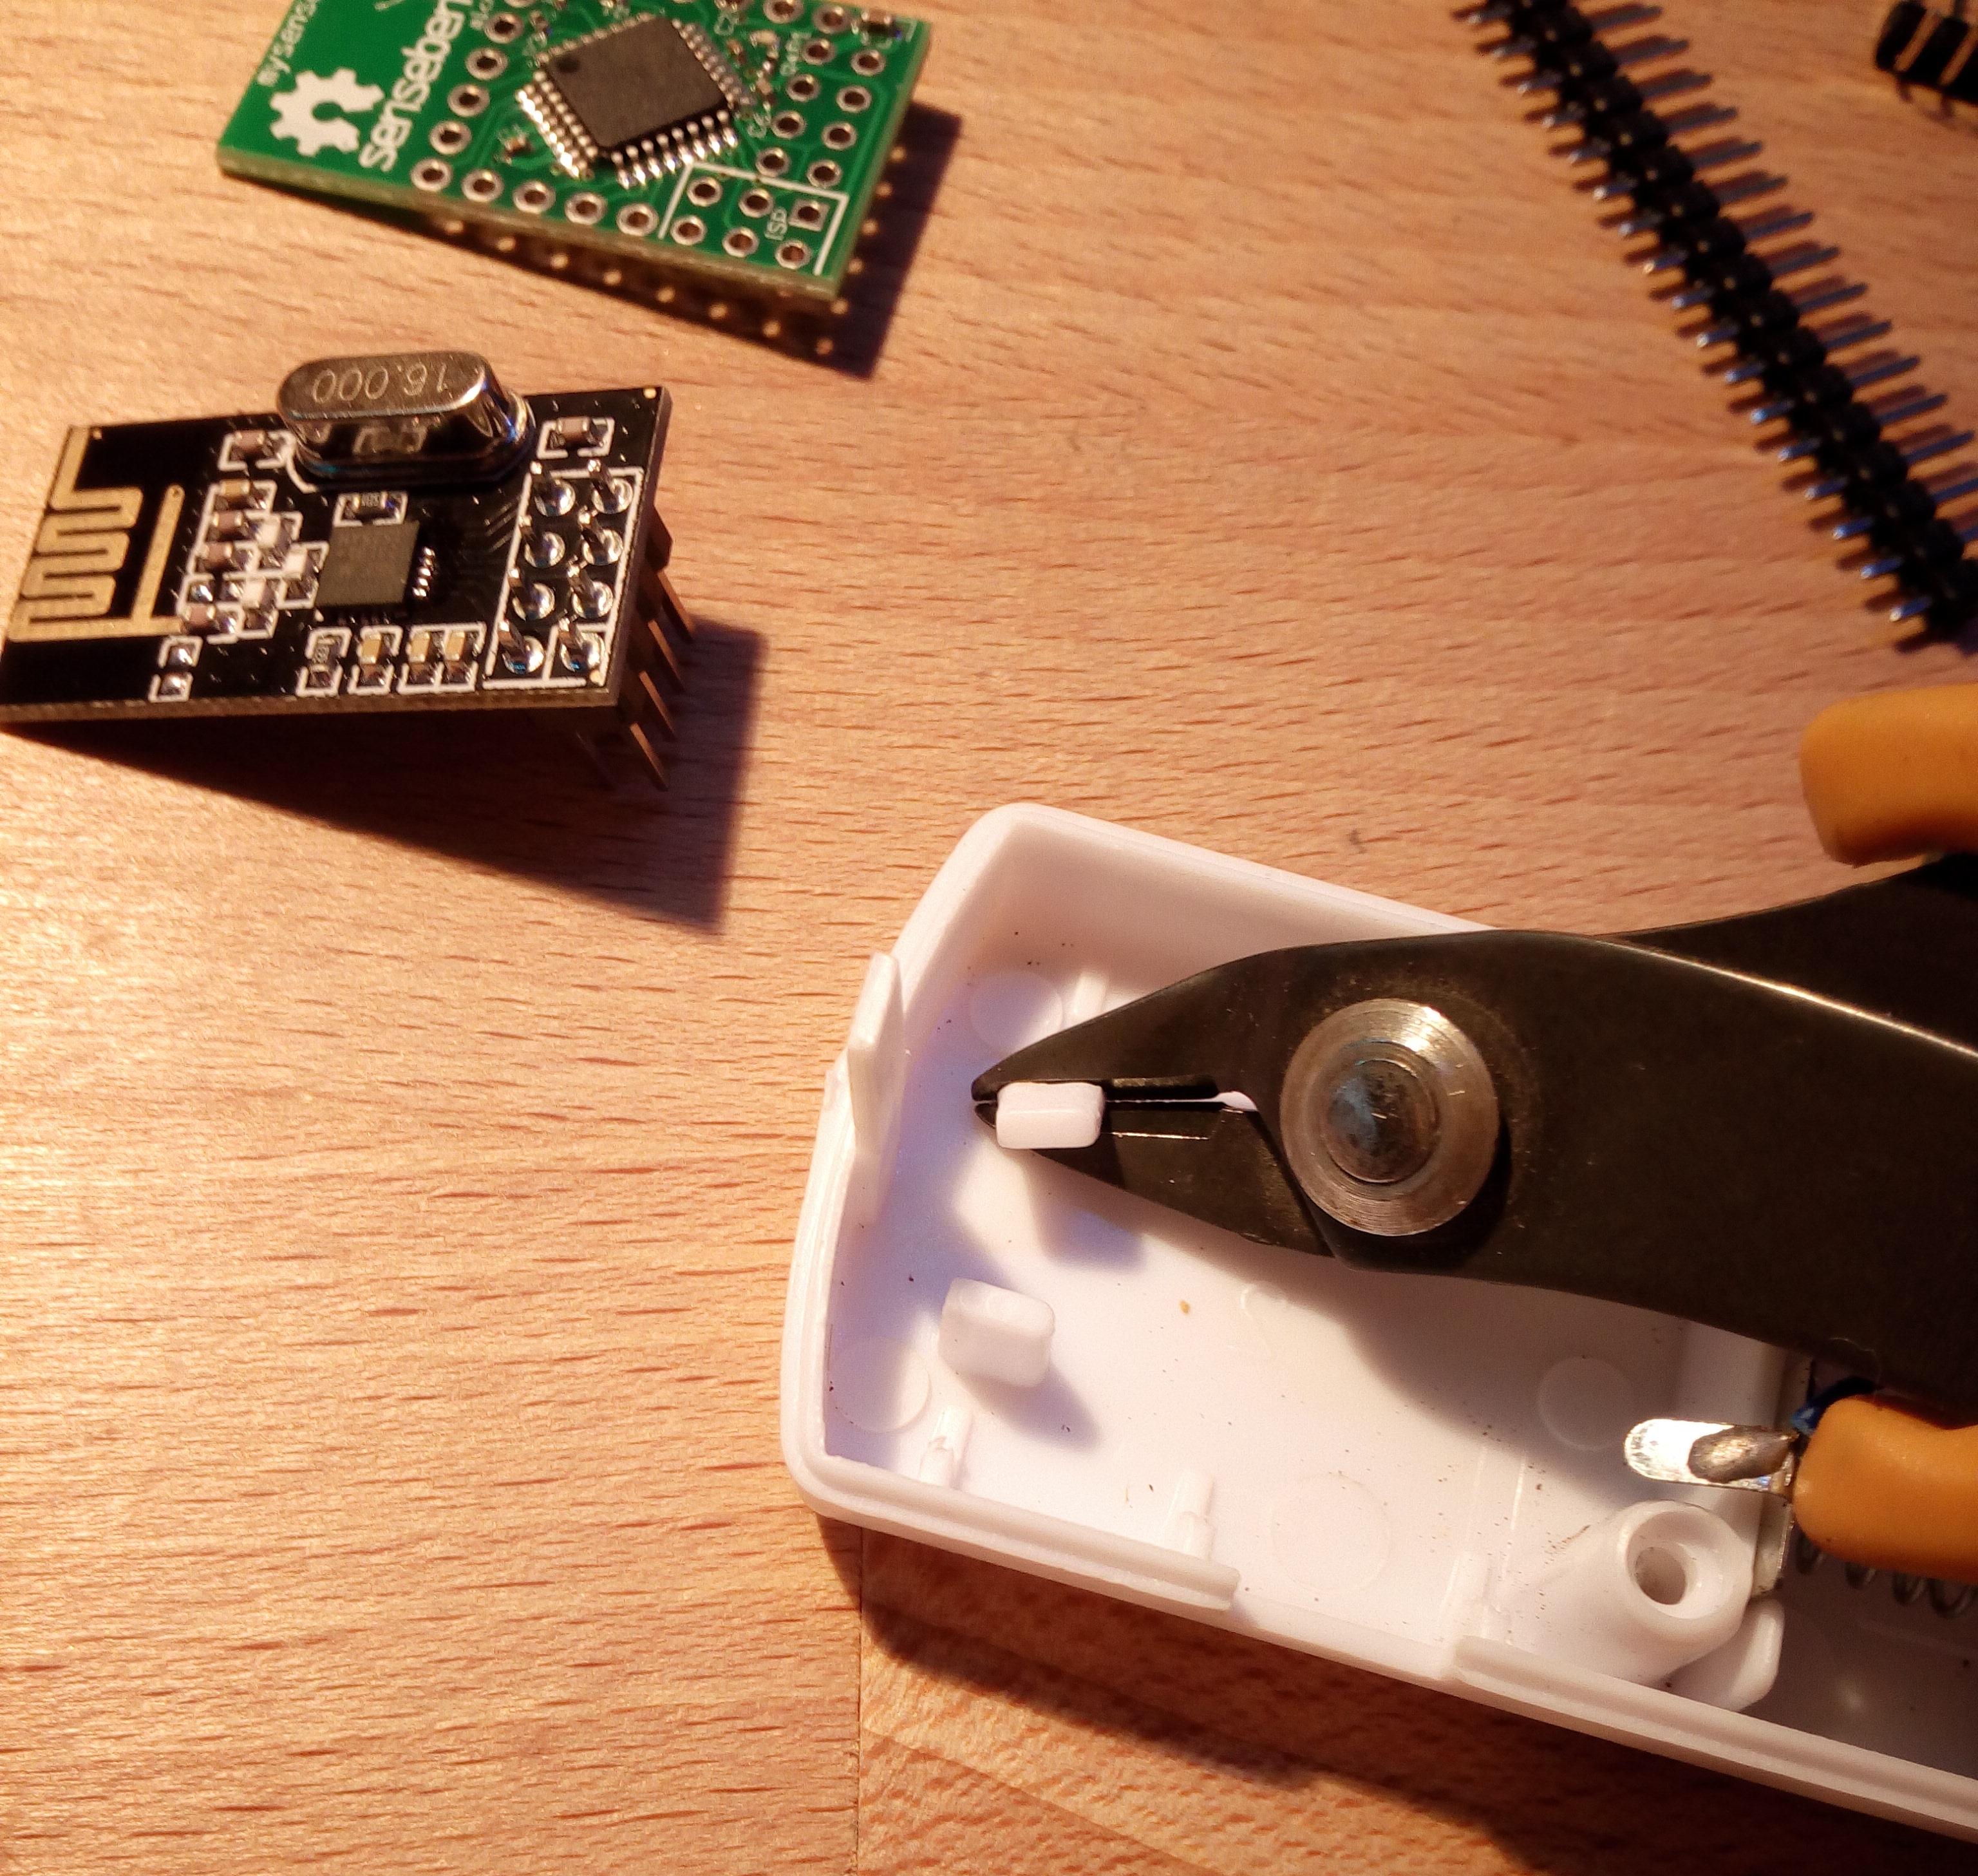
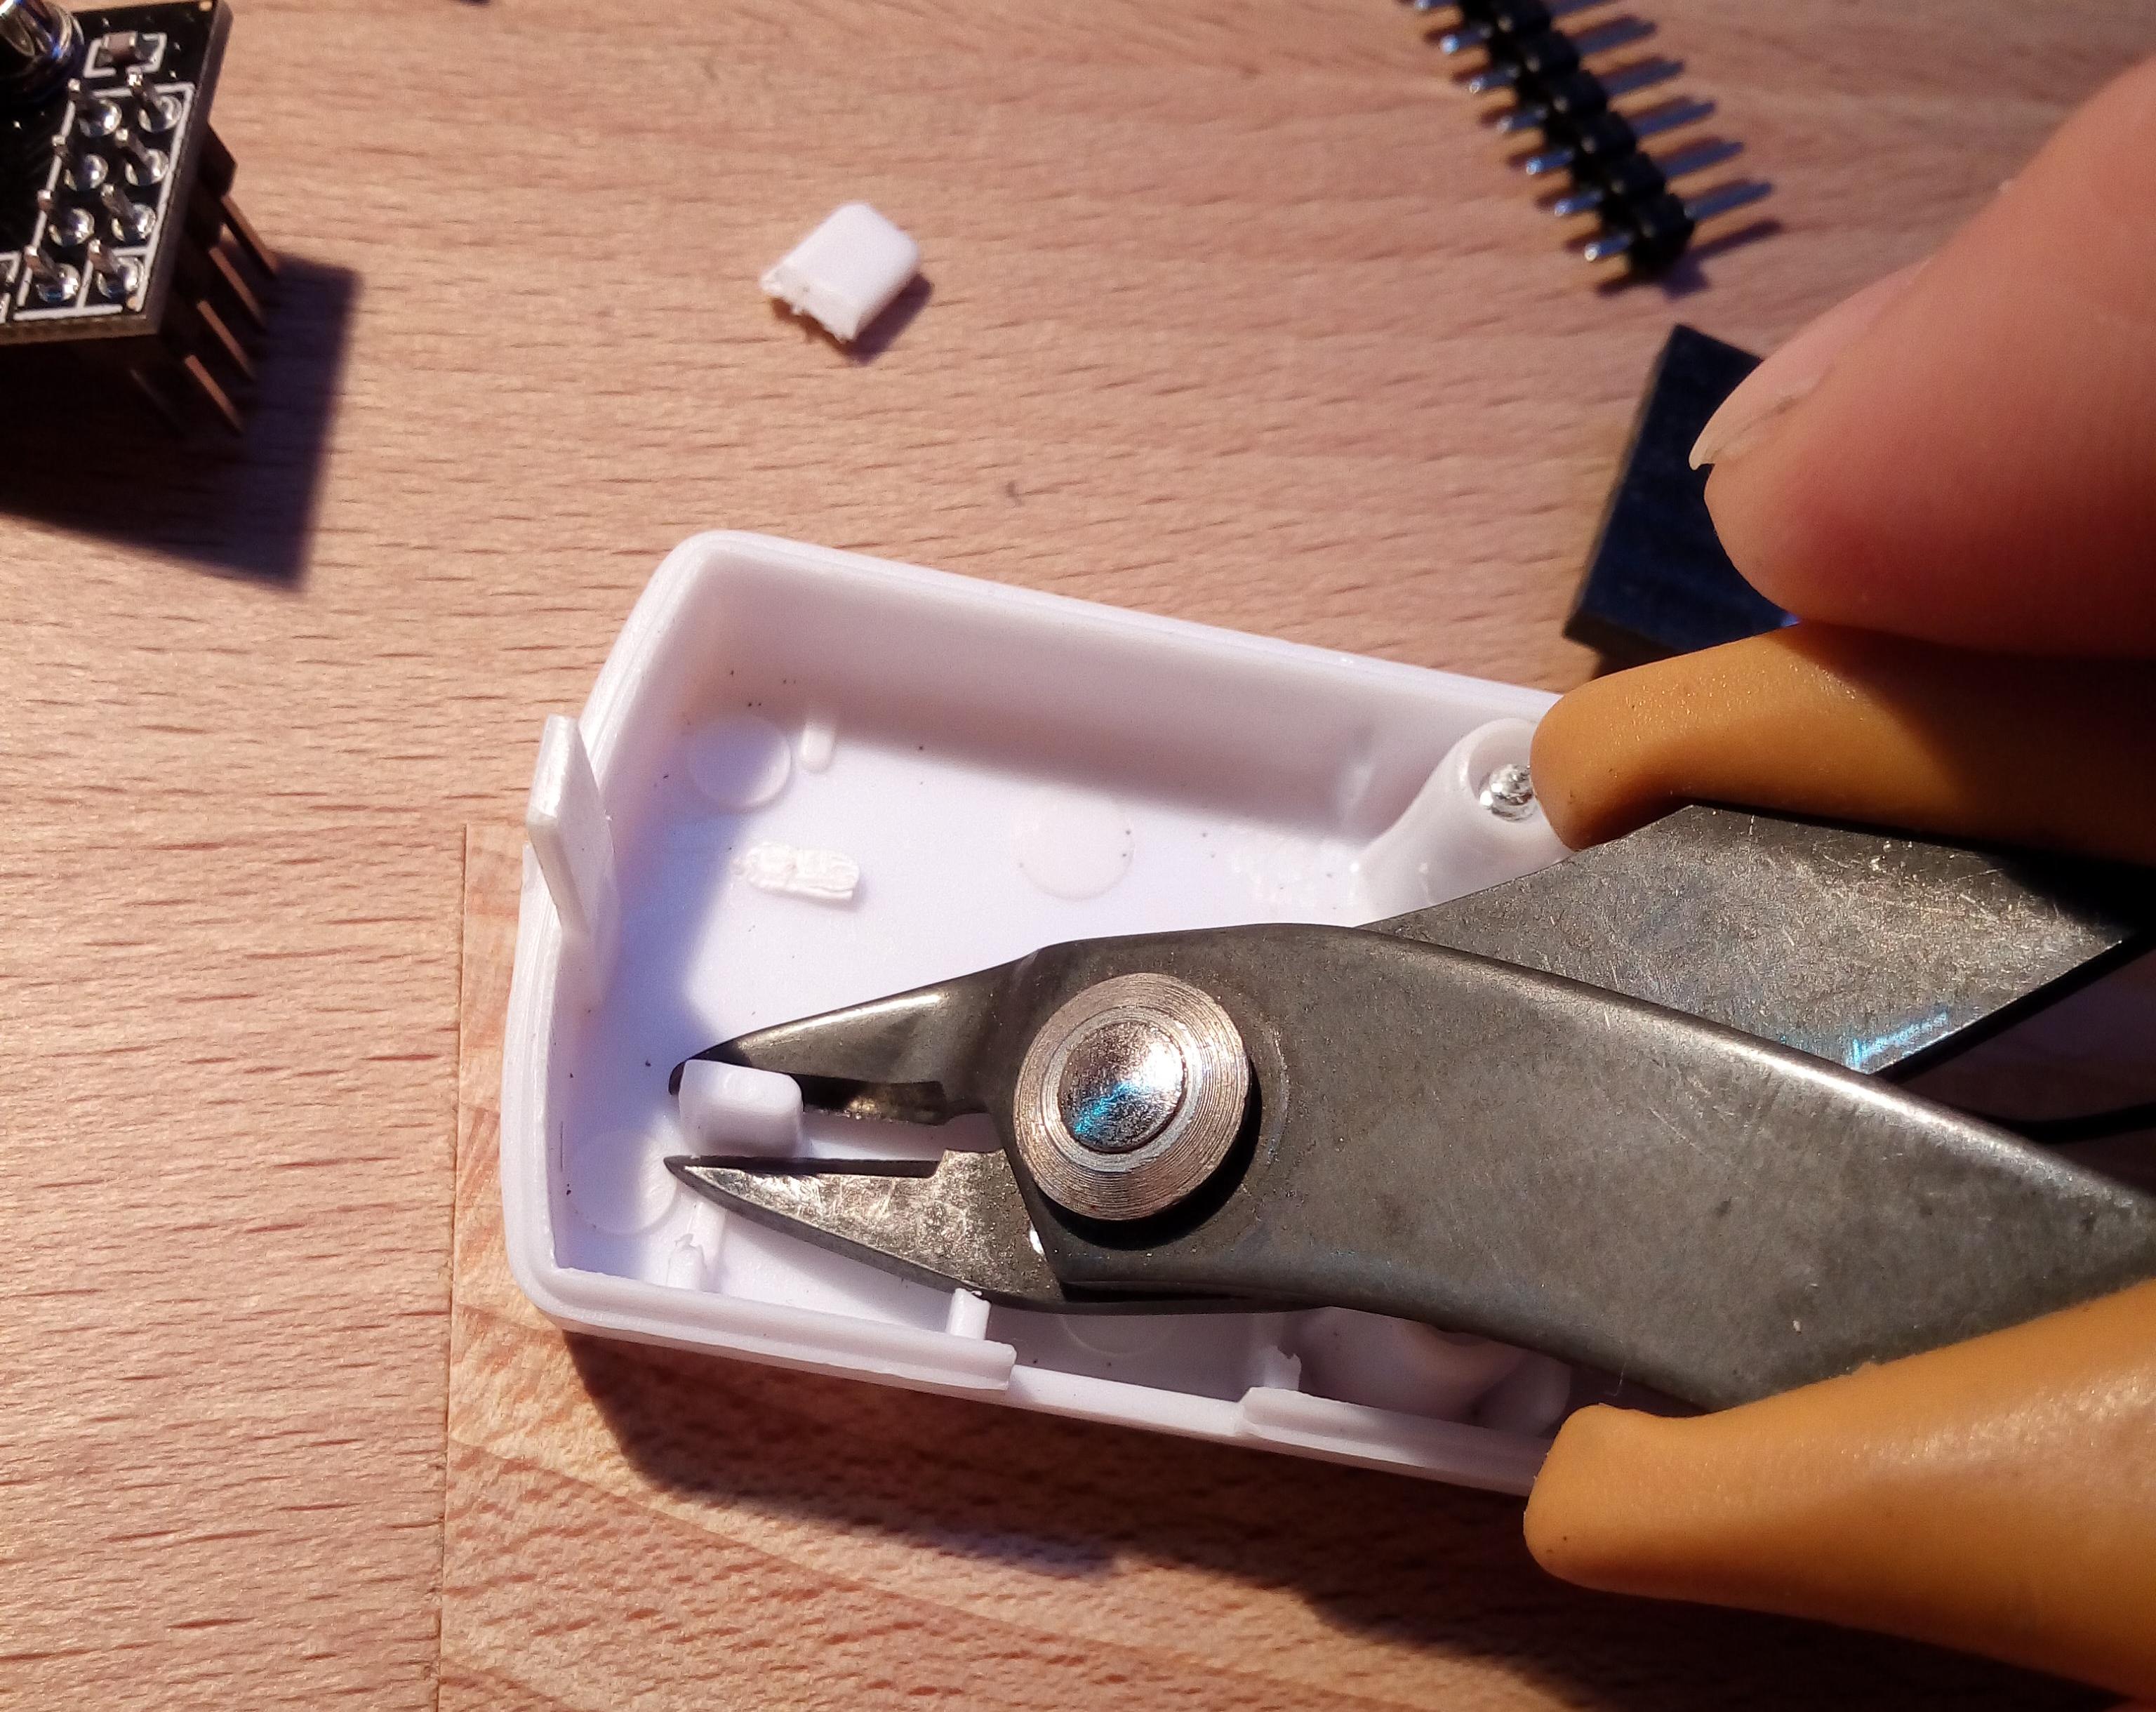
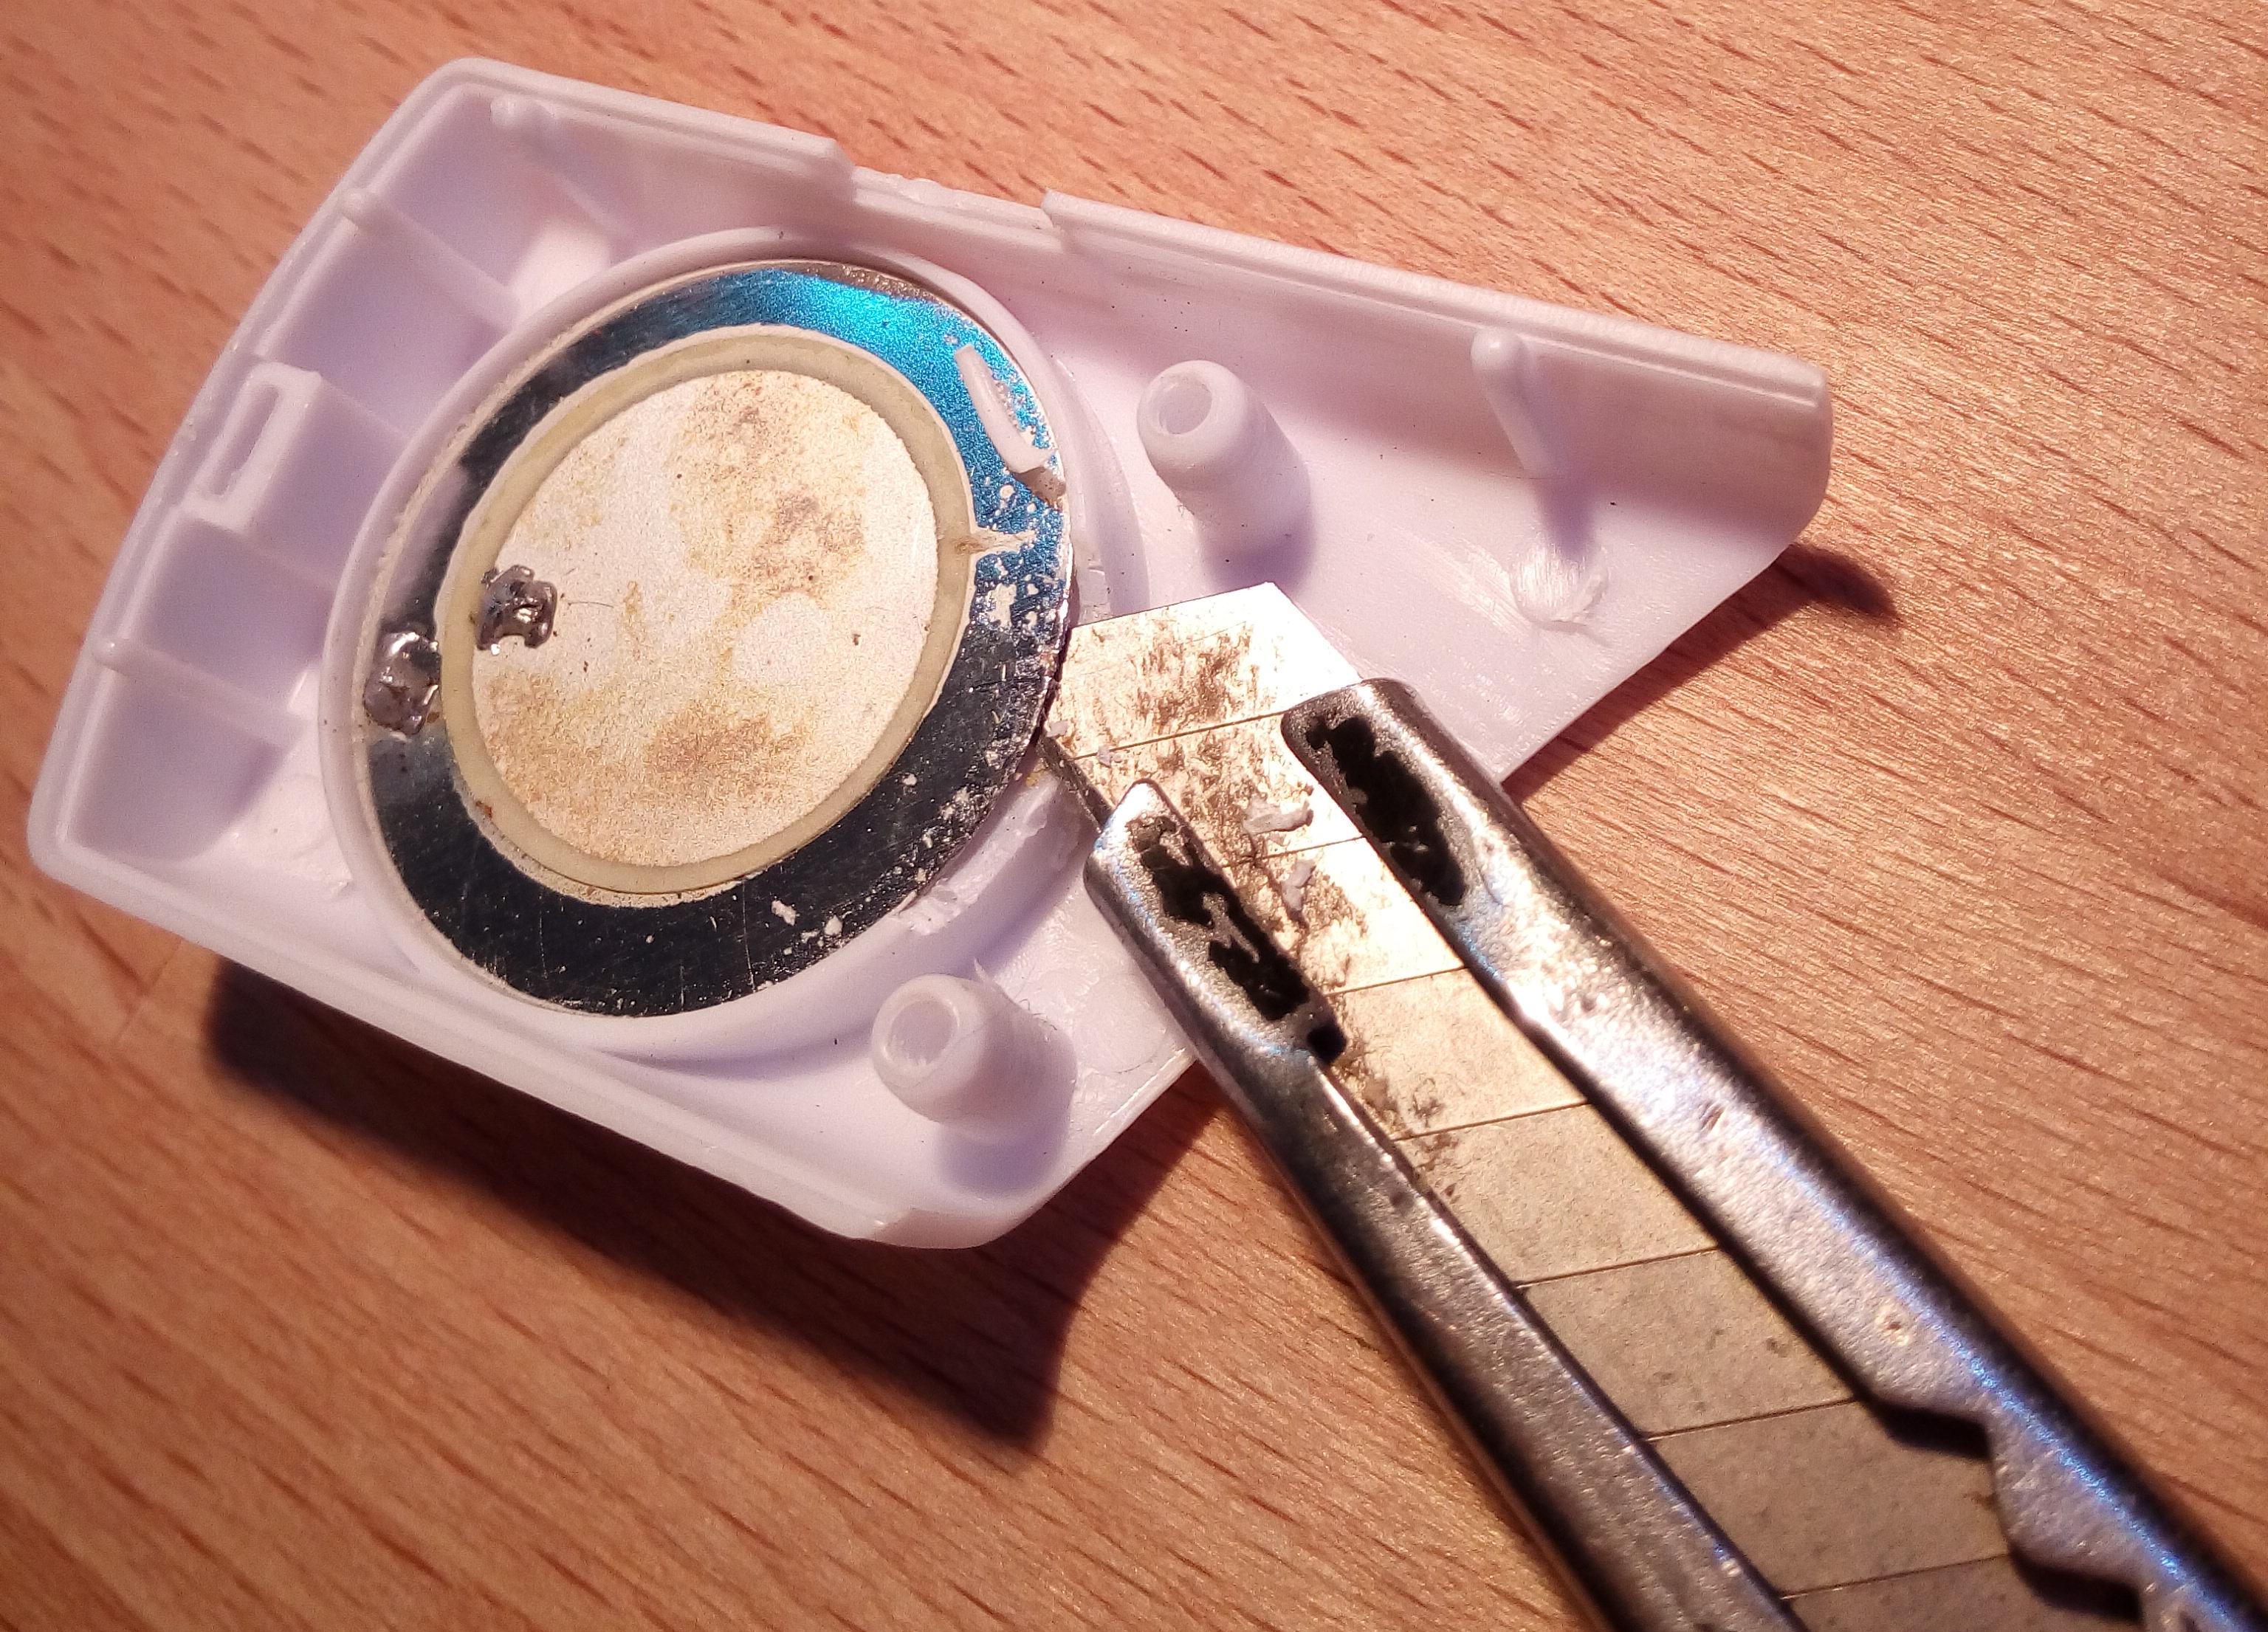
- Carefully cut the edge of the round plastic border away, until you can lift the buzzer up. Do not leave the buzzer in place; it would cover the antenna.
Preparation of the Sensebender
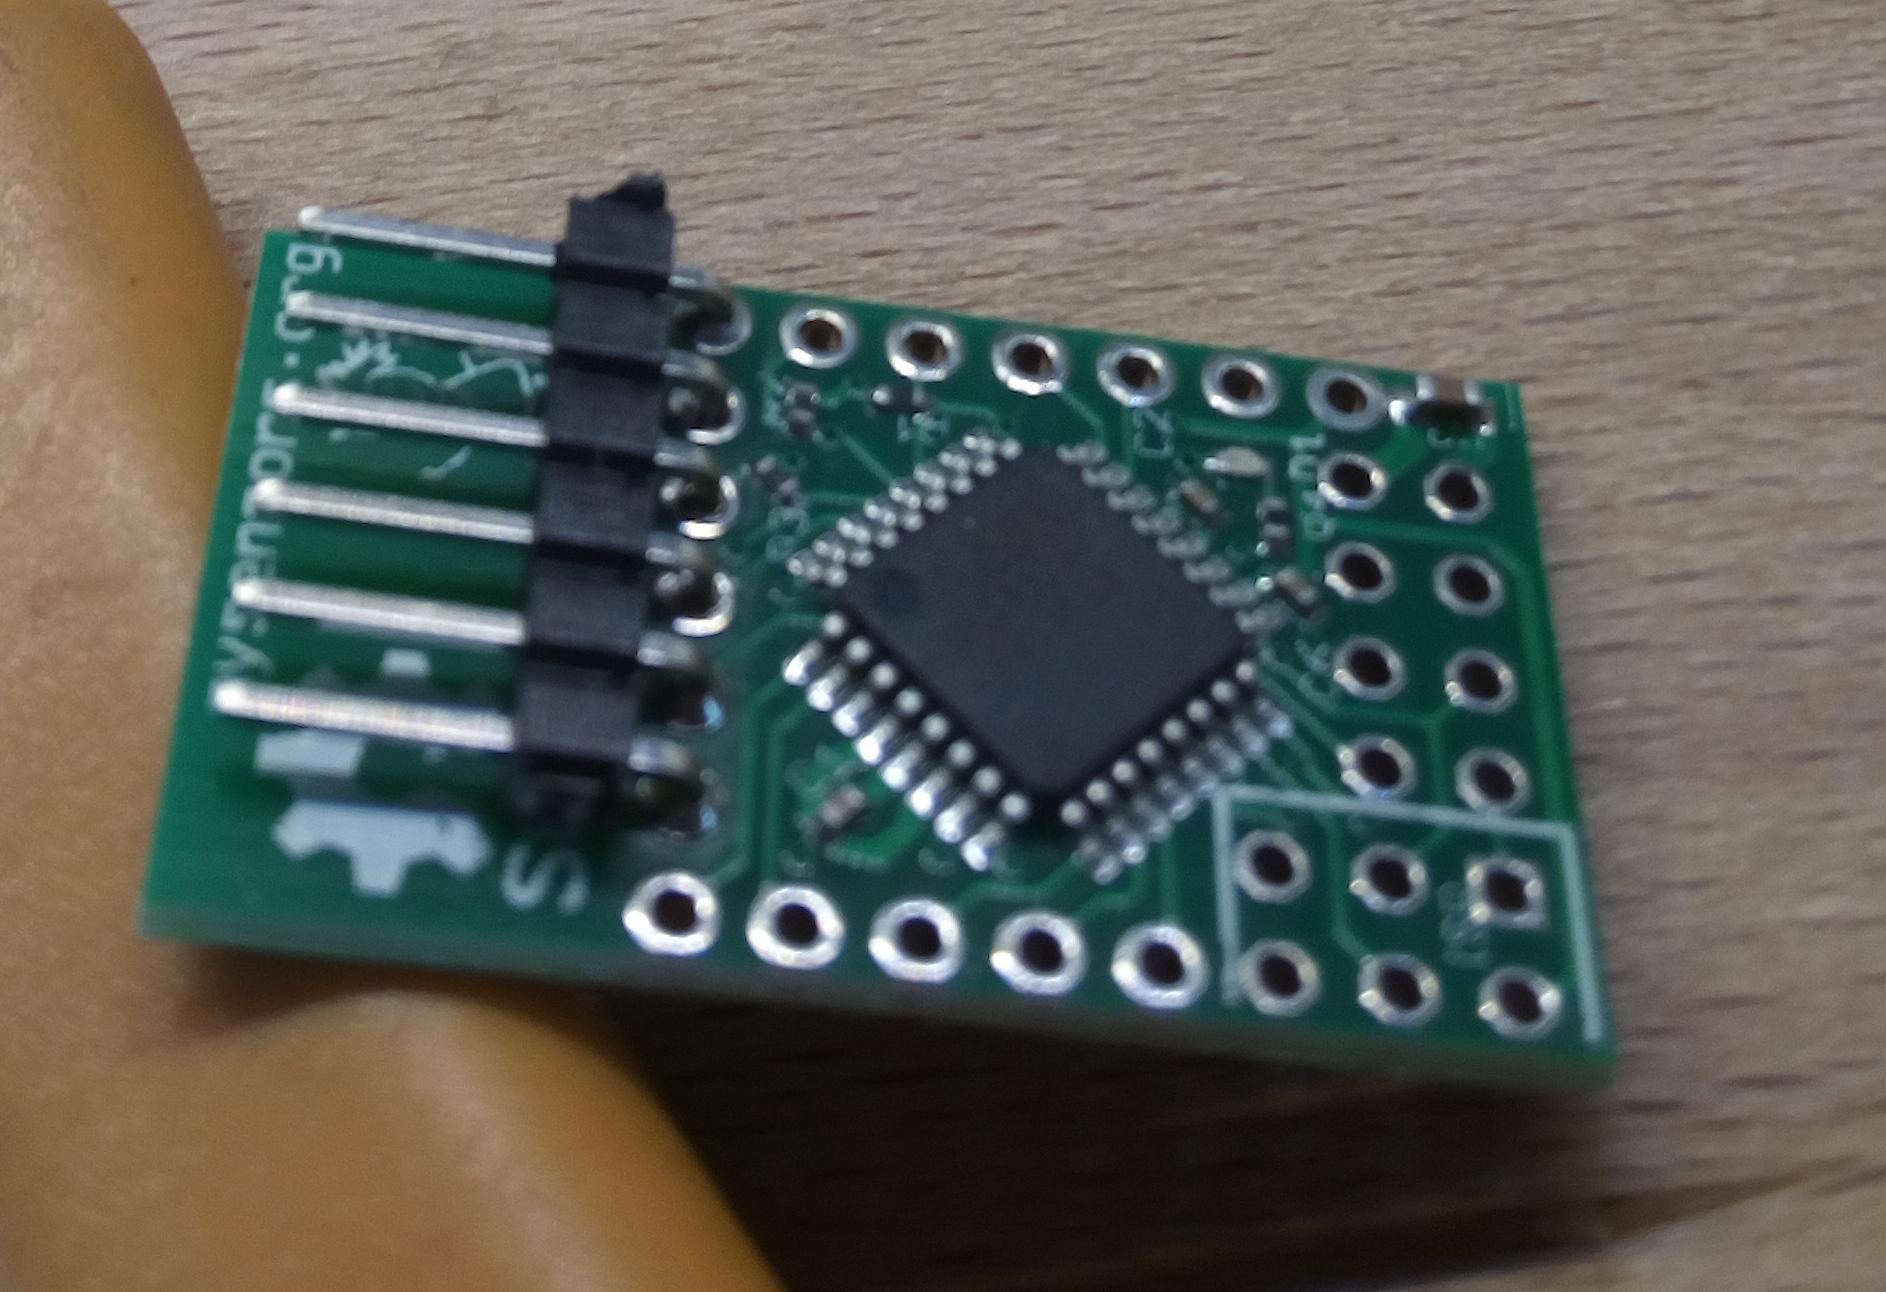
- First, solder a rectangular header to the Sensebender for programming it. Not all pictures show this header, but it makes uploading the sketch much easier. See the last picture.
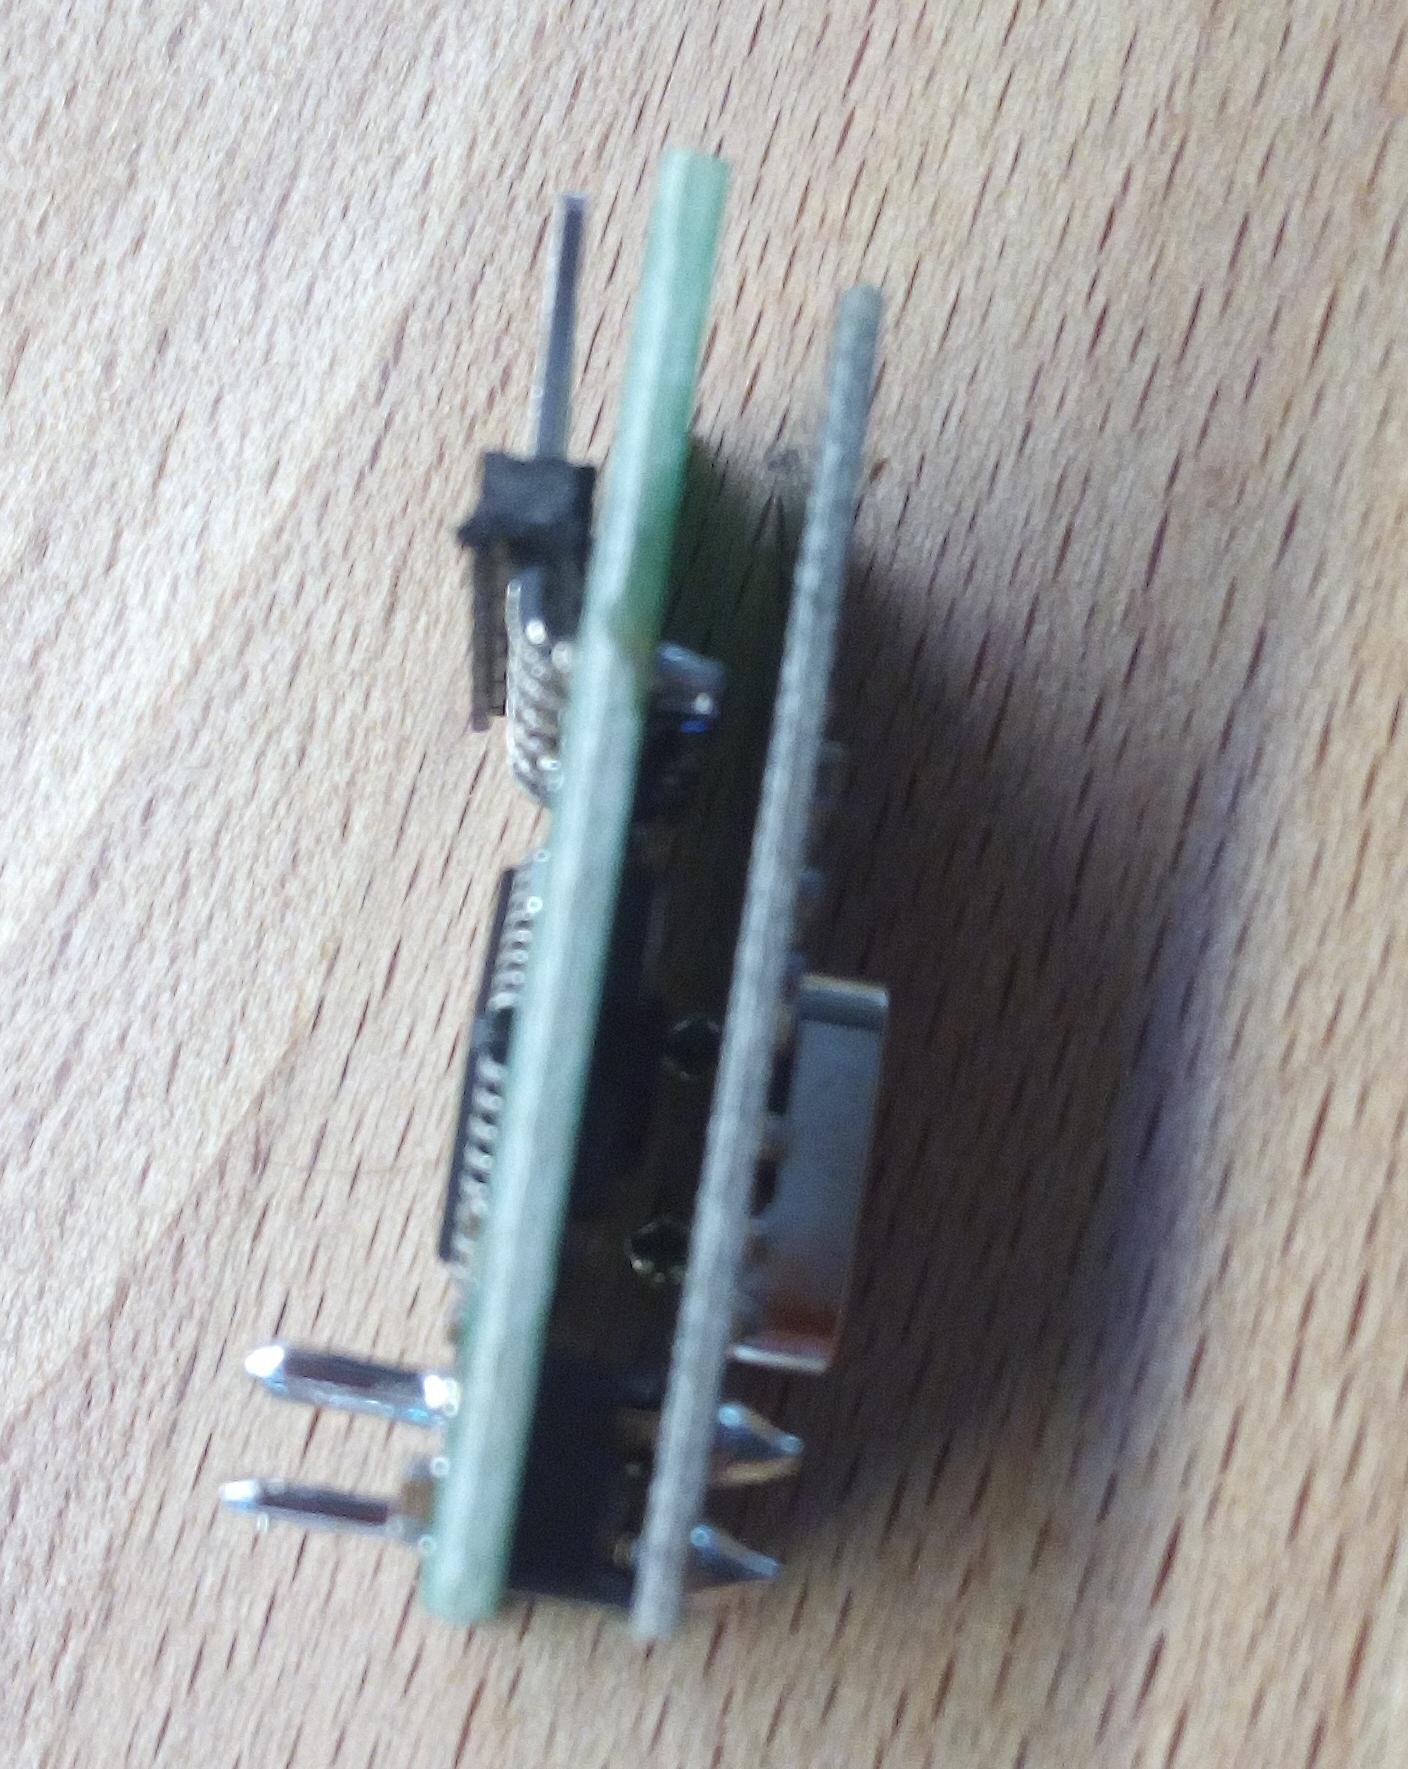
- Solder the SensebenderMicro to the NRF24L01Plus, so that they are close together.
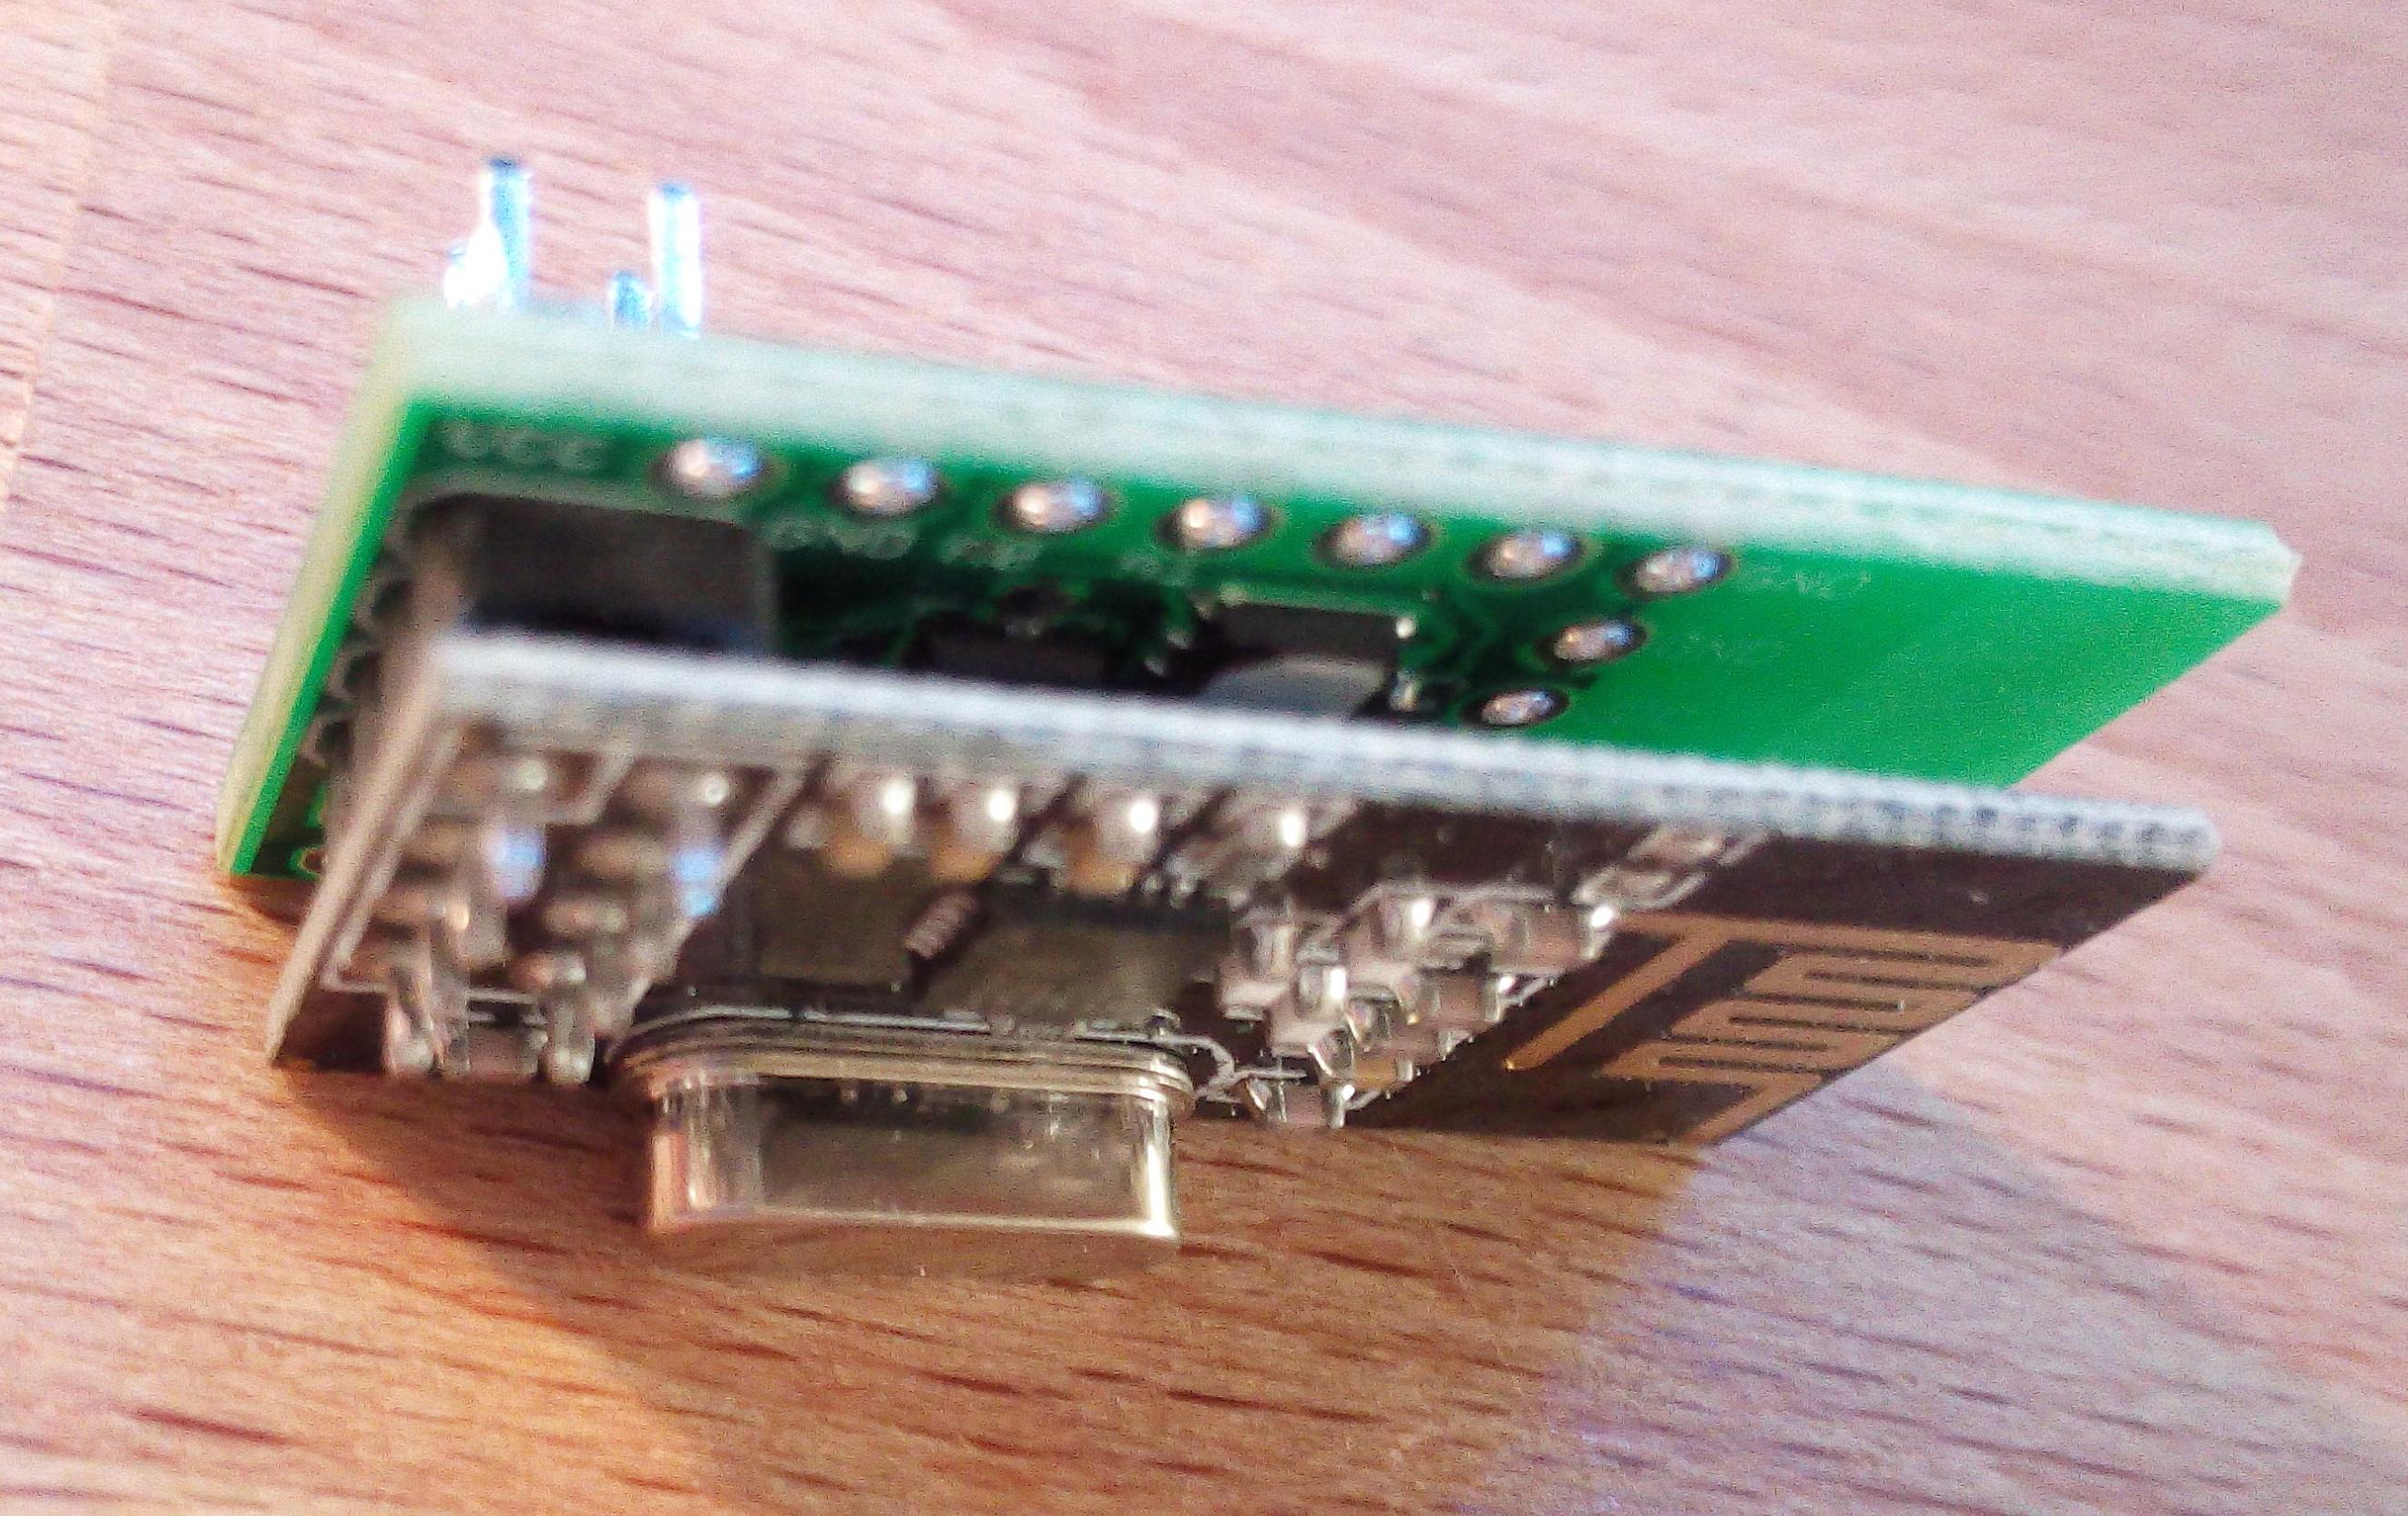
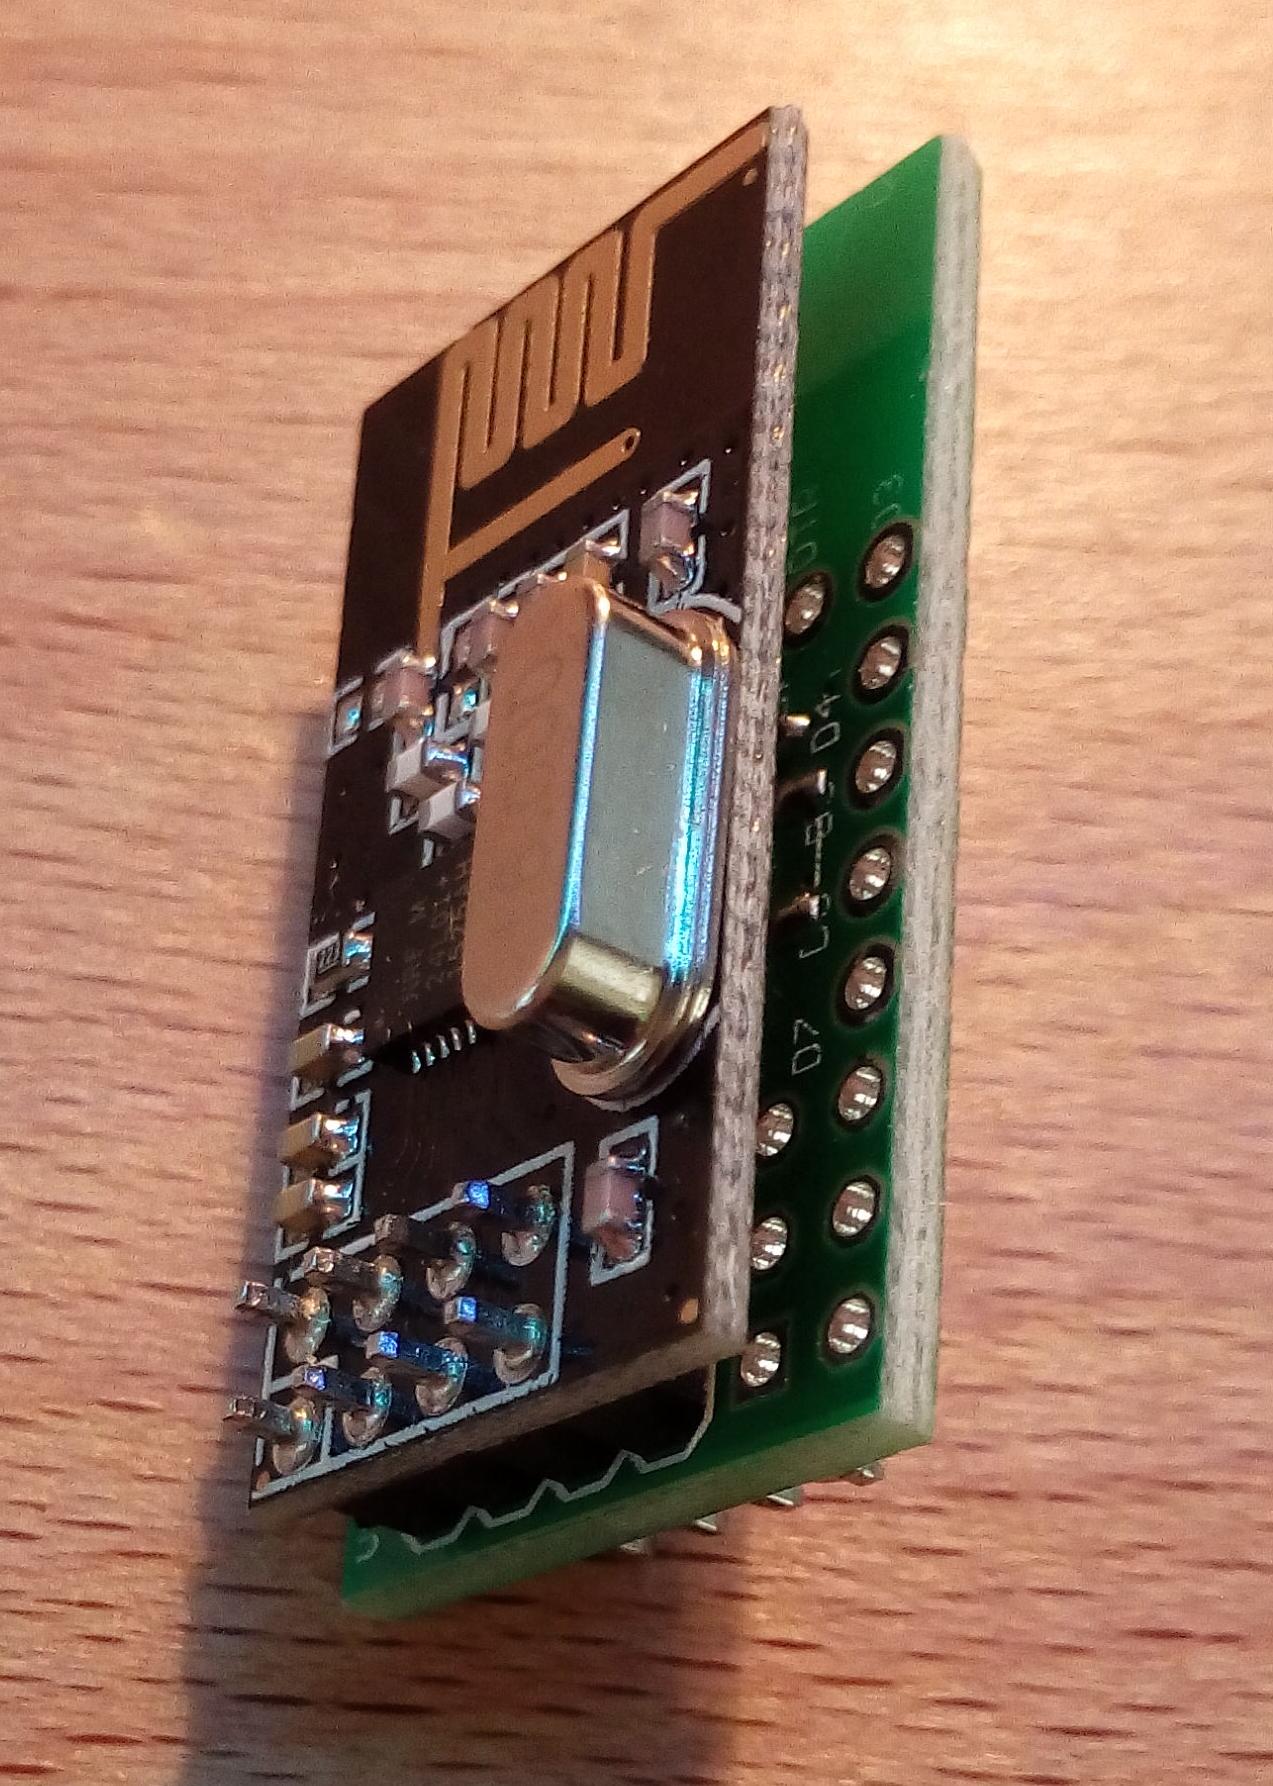
- Cut the pins short, they are too long.
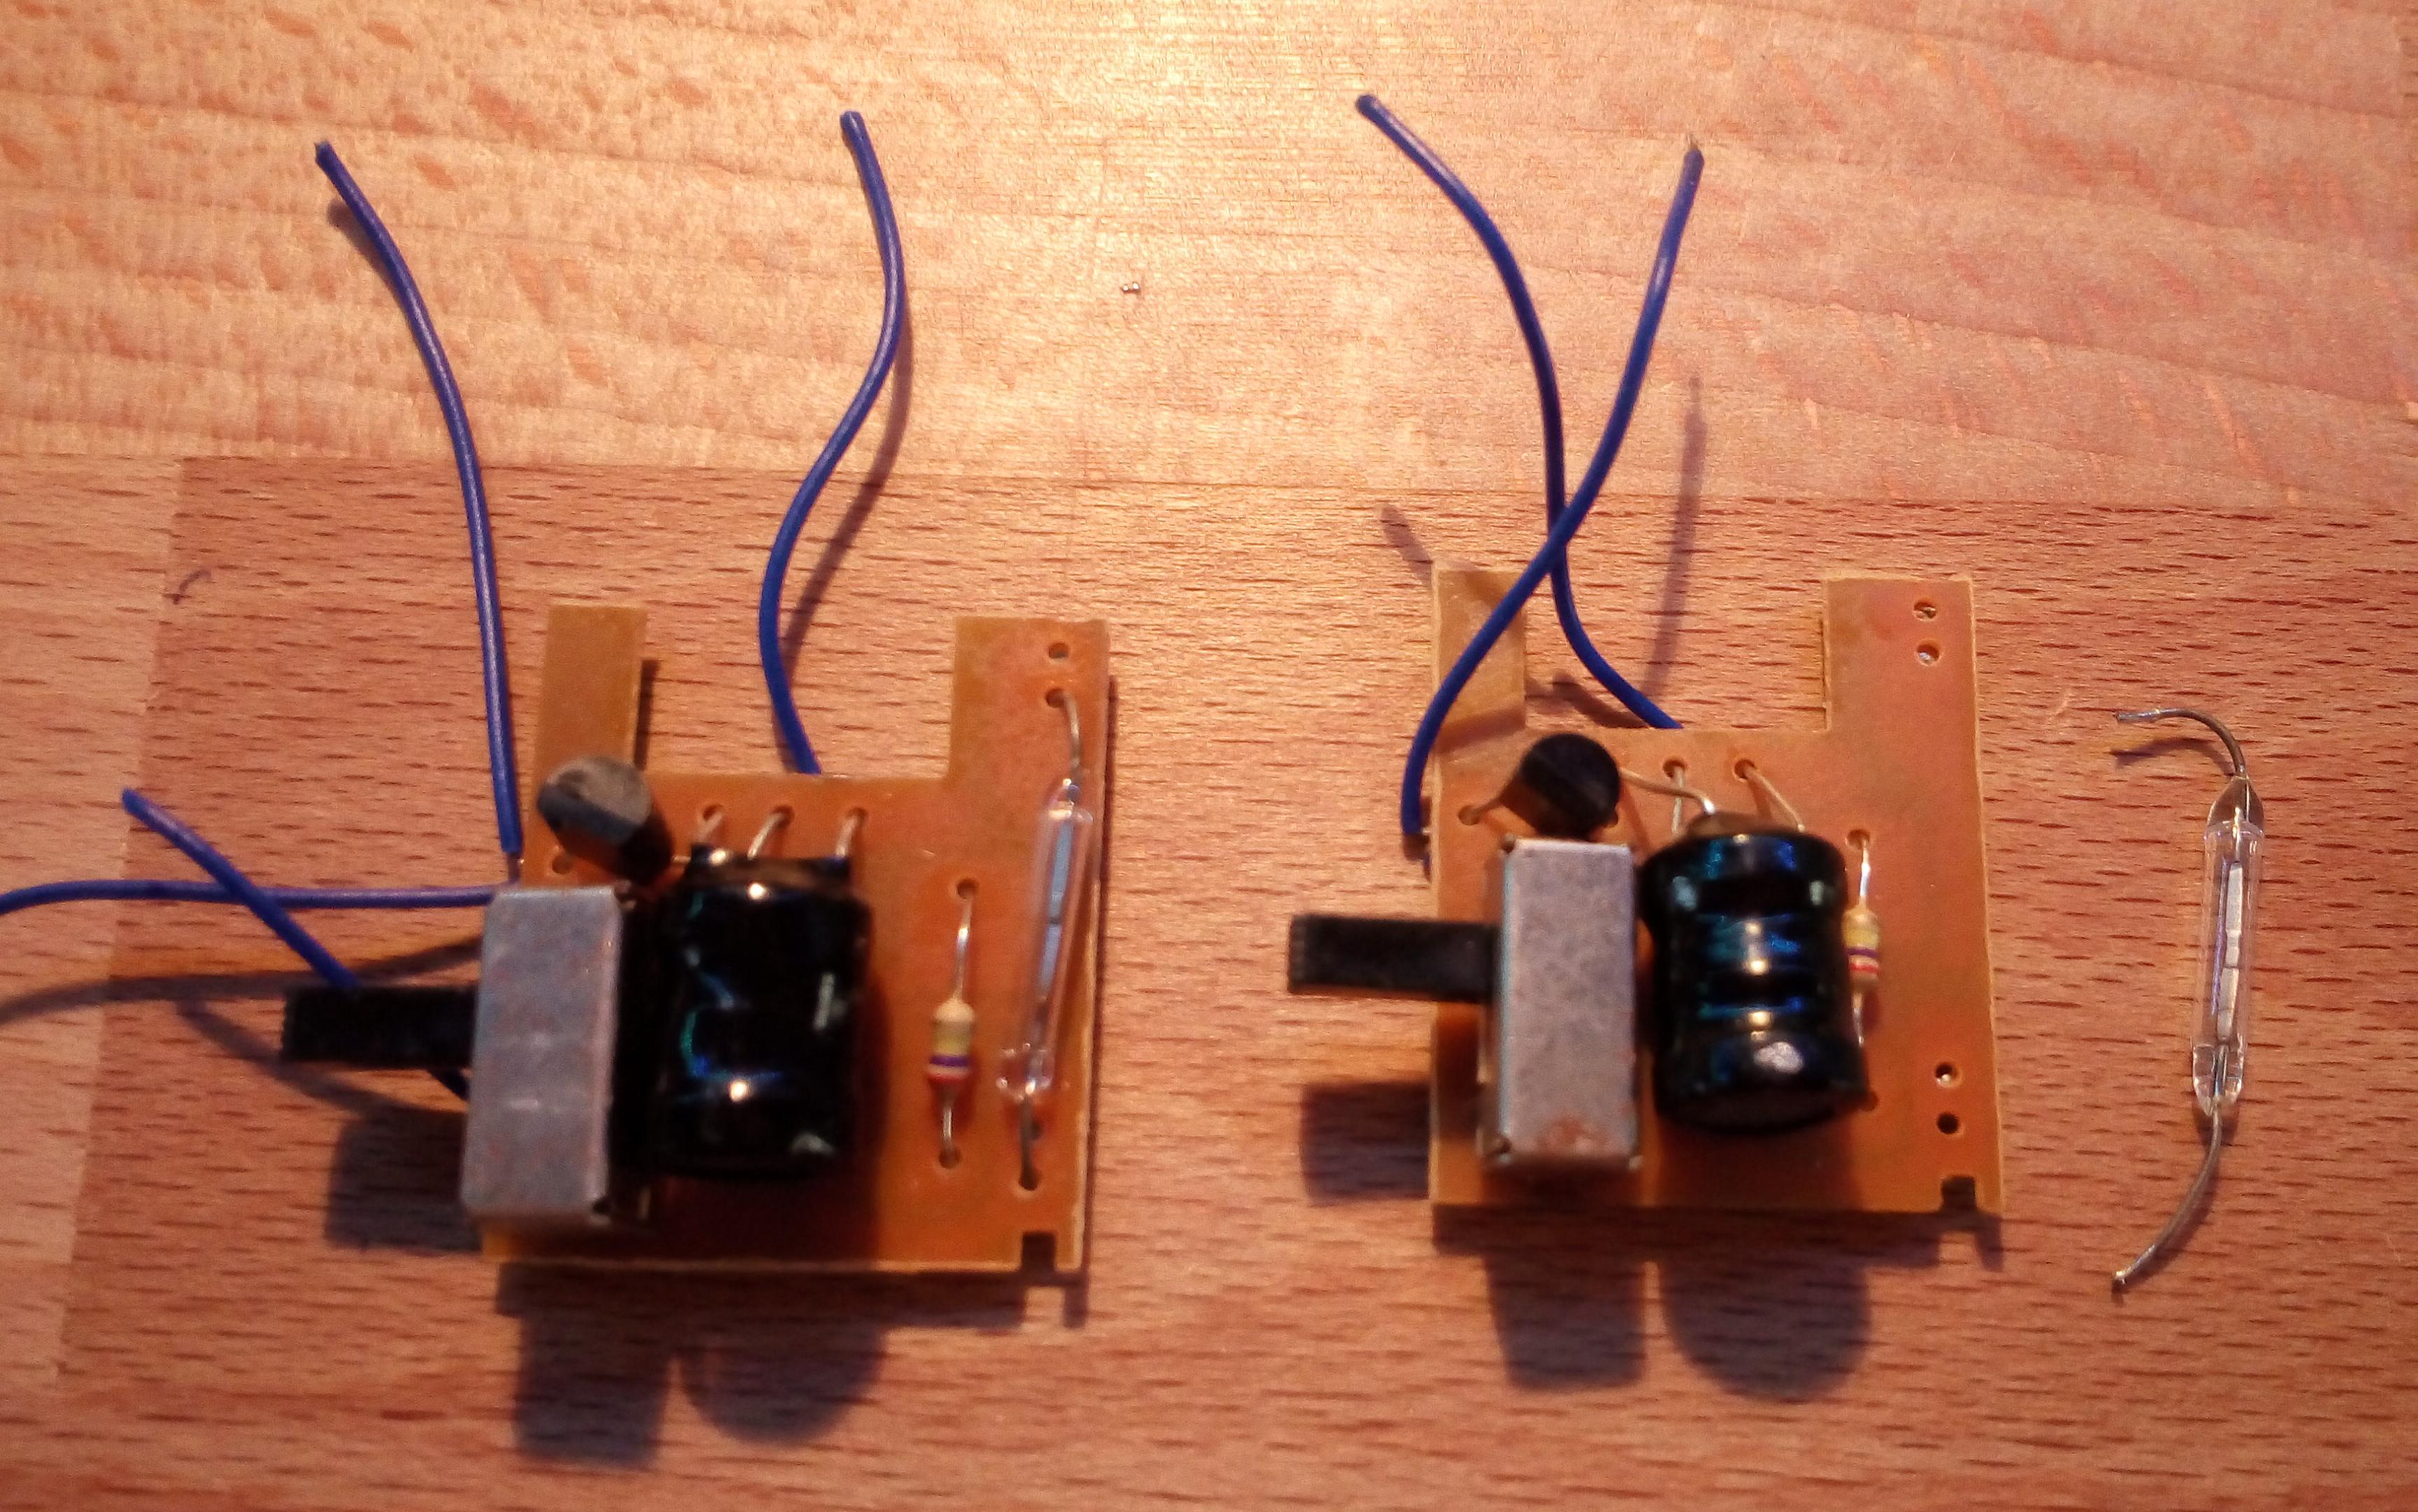
- Salvage the reed contact. Careful! The glass breaks very easyly if you bend the wires. This picture shows the original electronics inside the WindowOpenAlarm.
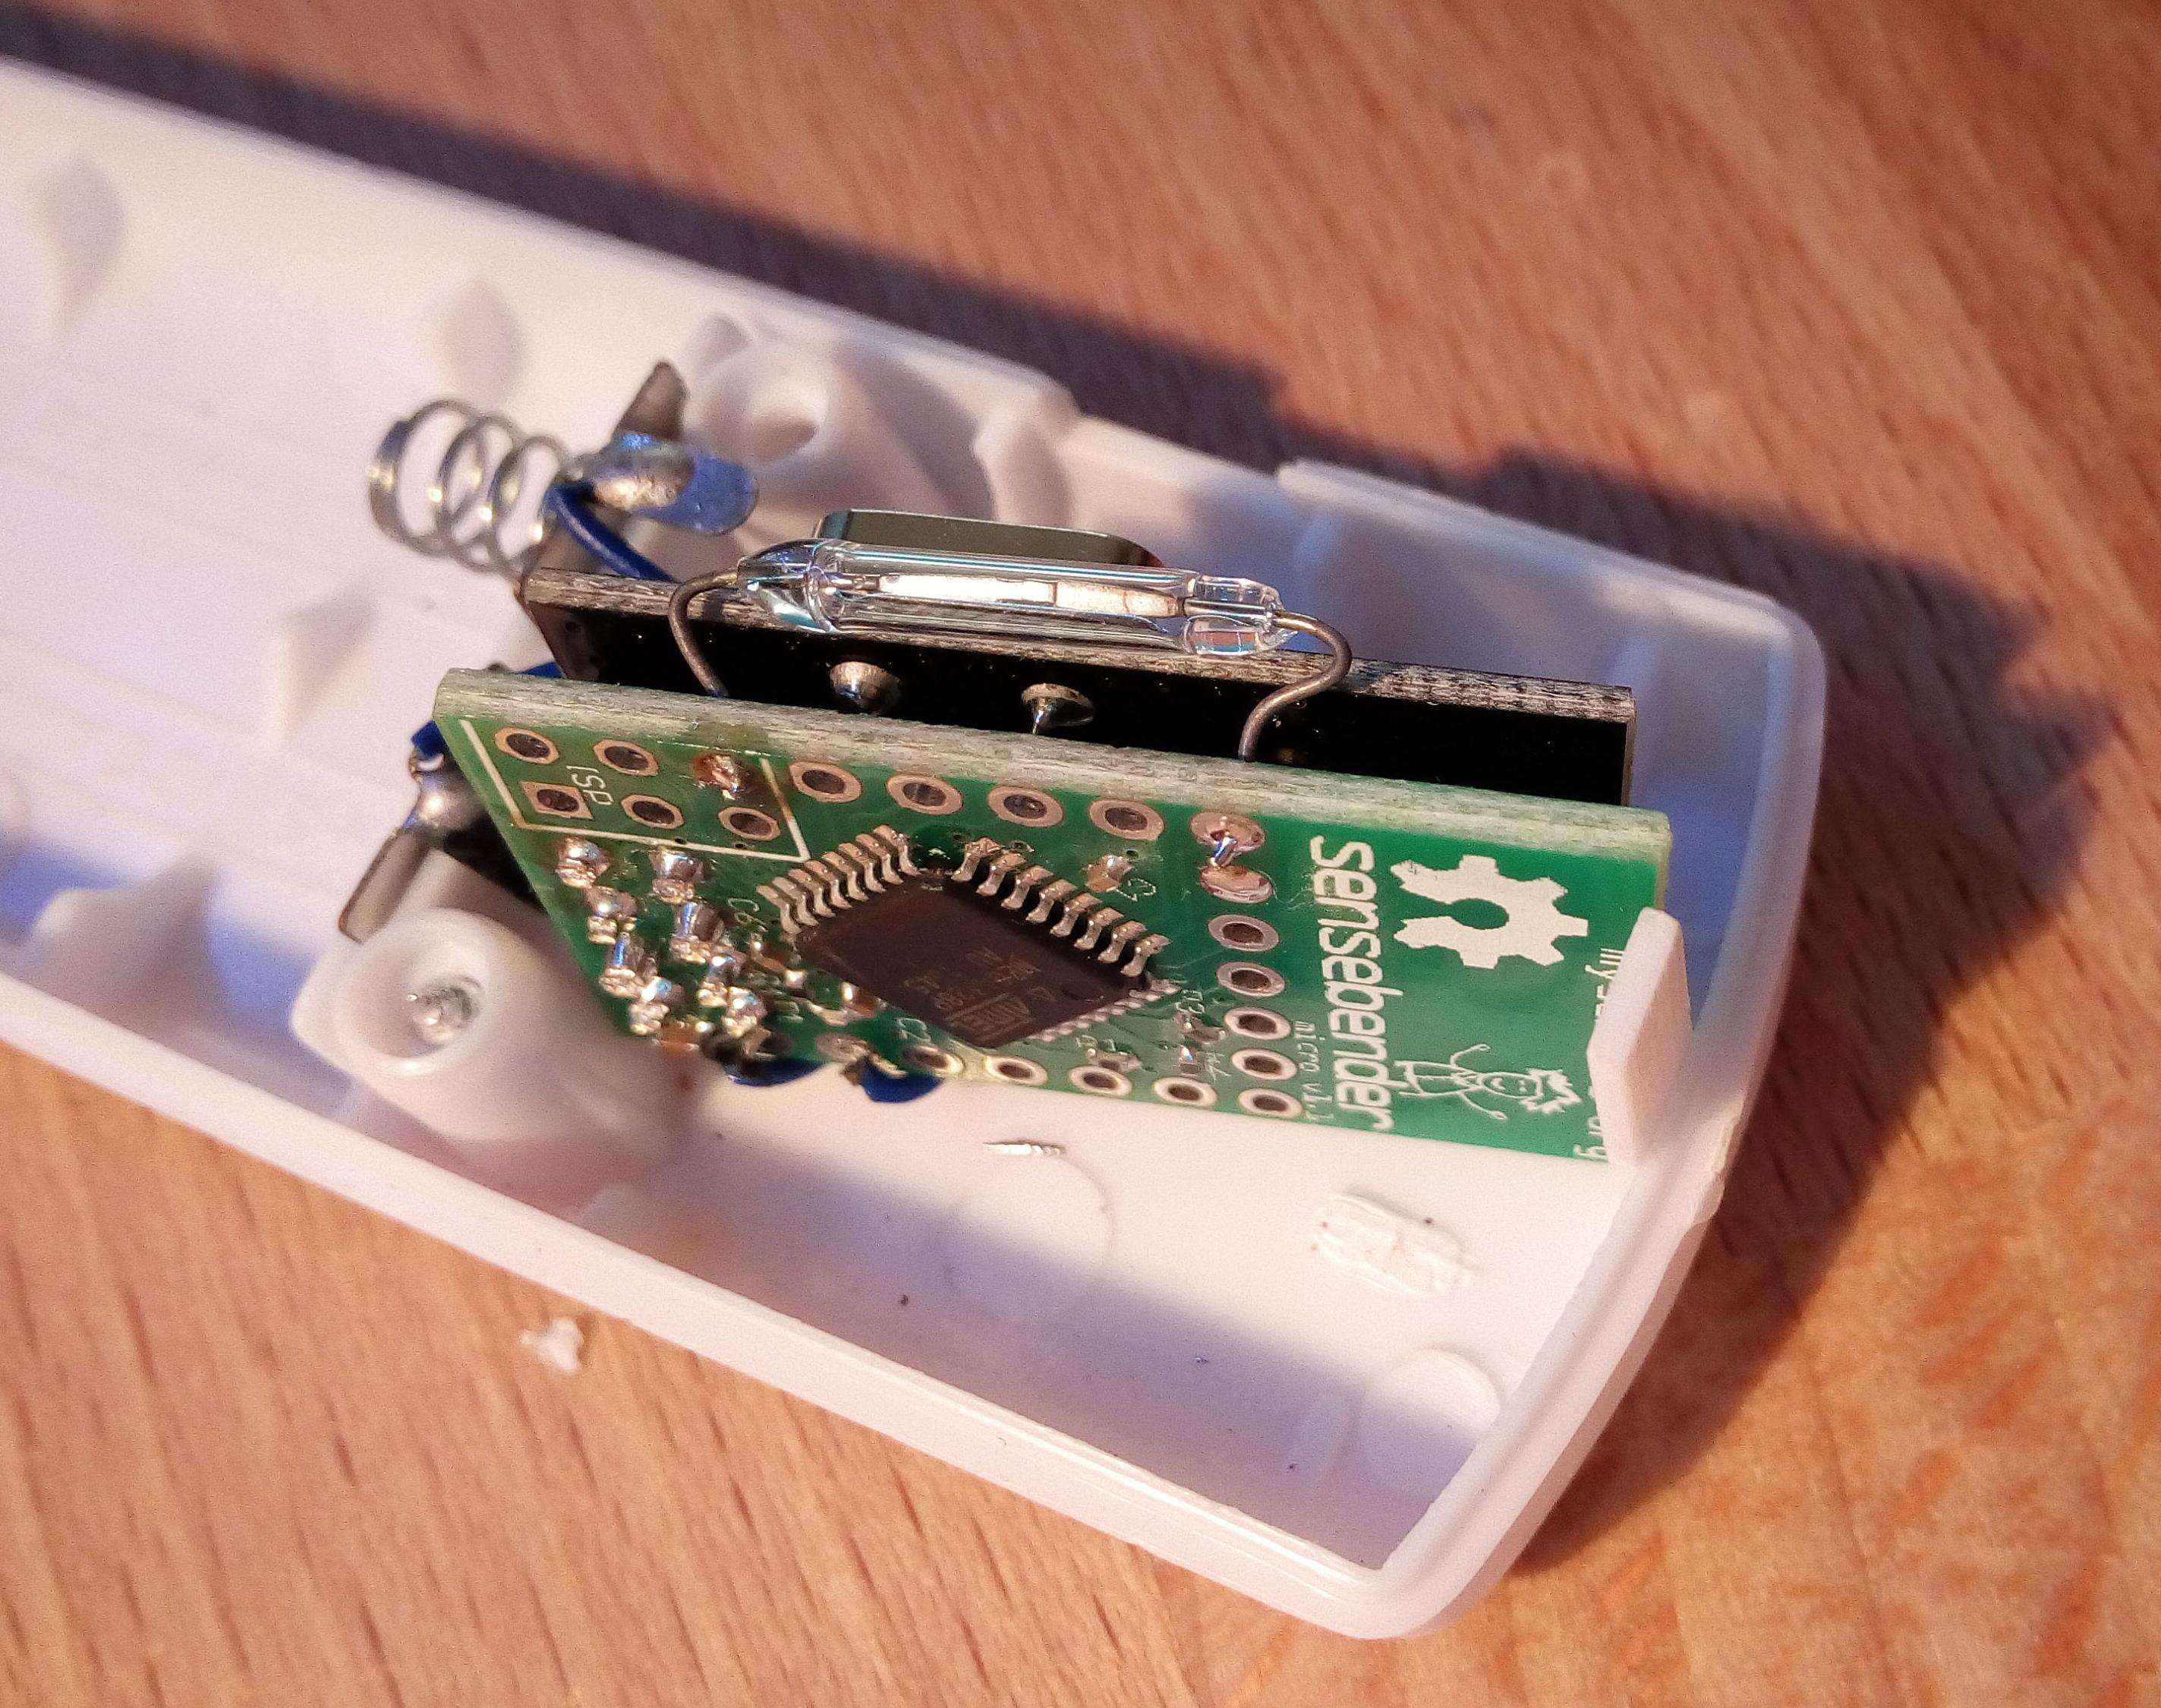
- The reed contact goes between D3 and ground (no resistor needed).
Putting it all together
- Solder the power wires to the SensebenderMicro
- Program the sketch: "WindowOpenSensor.ino".
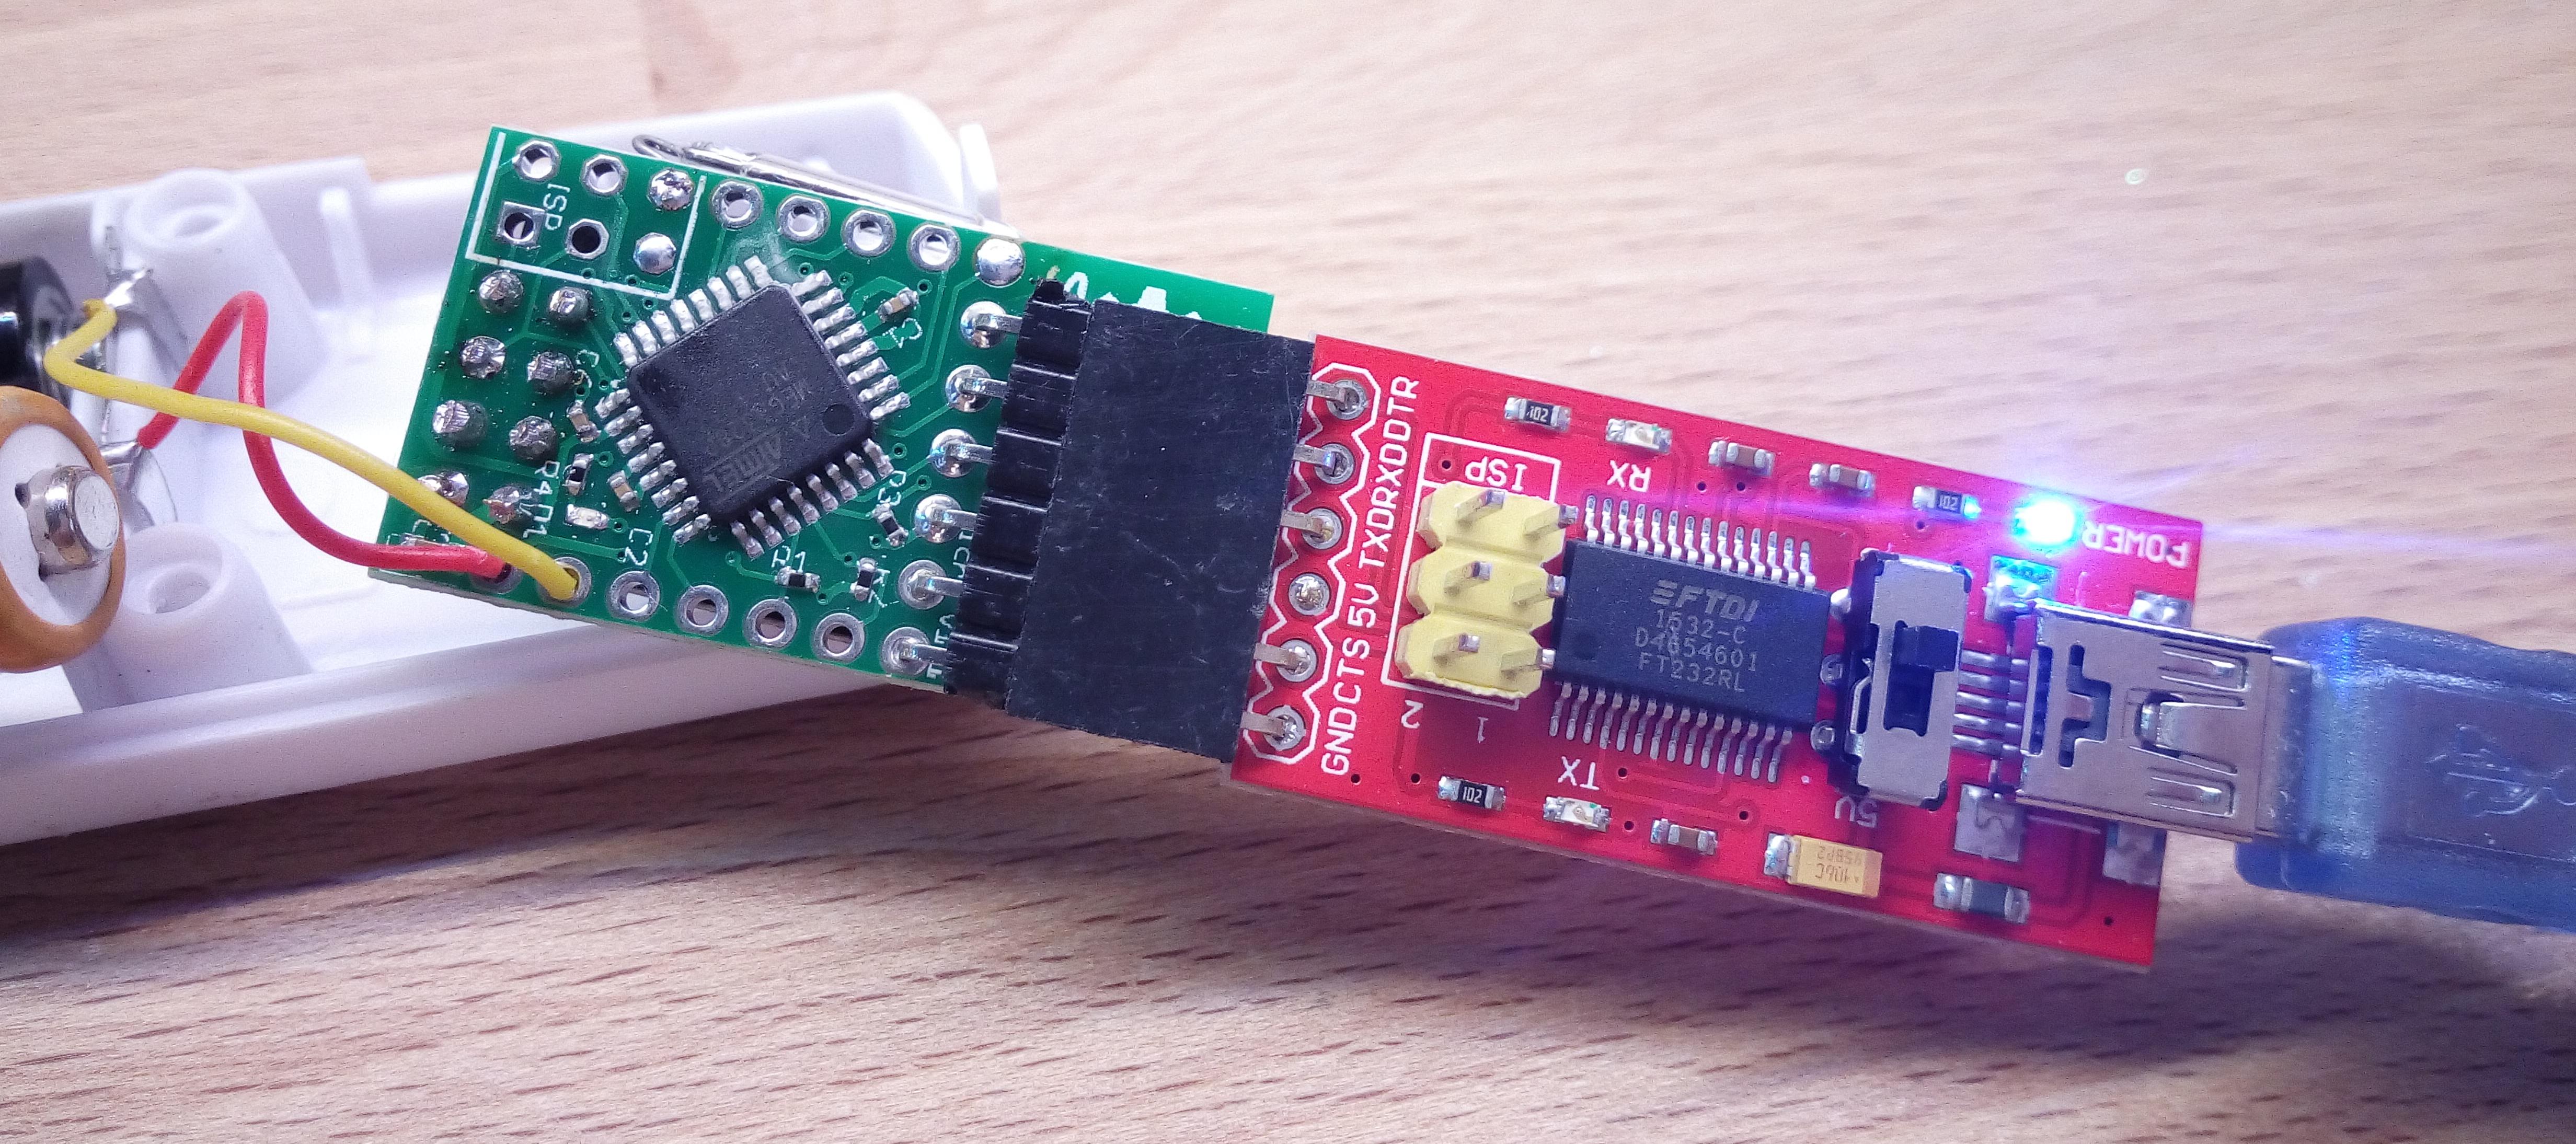
- Mount the module with the hook/loop (velcro) on the window.
Remarks
- I always use rechargeable batteries. As a consequence, the batteries condition is always indicated as less than 50%.
- Not all alarm modules are the same. The ones I had first, only barely fit a sensebender micro, the ones I ordered later, have a more shiny plastic, and fit a Arduino mini pro - something to try out later.
Source code
Based on: BinarySwitchSleepSensor.ino.
- board: Sensebender Micro
- baud rate: 19200
Building with Platformio: not yet tested!
Startup log
Starting sensor (RNNNA-, 2.0.0)
TSM:INIT
TSM:RADIO:OK
TSP:ASSIGNID:OK (ID=2)
TSM:FPAR
TSP:MSG:SEND 2-2-255-255 s=255,c=3,t=7,pt=0,l=0,sg=0,ft=0,st=bc:
TSM:FPAR
TSP:MSG:SEND 2-2-255-255 s=255,c=3,t=7,pt=0,l=0,sg=0,ft=0,st=bc:
TSP:MSG:READ 0-0-2 s=255,c=3,t=8,pt=1,l=1,sg=0:0
TSP:MSG:FPAR RES (ID=0, dist=0)
TSP:MSG:PAR OK (ID=0, dist=1)
TSM:FPAR:OK
TSM:ID
TSM:CHKID:OK (ID=2)
TSM:UPL
TSP:PING:SEND (dest=0)
TSP:MSG:SEND 2-2-0-0 s=255,c=3,t=24,pt=1,l=1,sg=0,ft=0,st=ok:1
TSP:MSG:READ 0-0-2 s=255,c=3,t=25,pt=1,l=1,sg=0:1
TSP:MSG:PONG RECV (hops=1)
TSP:CHKUPL:OK
TSM:UPL:OK
TSM:READY
Window Open Sensor 2.7 - Online!
isMetric: 1
TempDiff :123.02
HumDiff  :164.00
T: 23.02
H: 64
NODE:!REG
NODE:!REG
NODE:!REG
TSP:MSG:SEND 2-2-0-0 s=255,c=3,t=0,pt=1,l=1,sg=0,ft=0,st=ok:58
TSP:MSG:SEND 2-2-0-0 s=255,c=3,t=15,pt=6,l=2,sg=0,ft=0,st=ok:0100
TSP:MSG:SEND 2-2-0-0 s=255,c=0,t=17,pt=0,l=5,sg=0,ft=0,st=ok:2.0.0
TSP:MSG:SEND 2-2-0-0 s=255,c=3,t=6,pt=1,l=1,sg=0,ft=0,st=ok:0
TSP:MSG:READ 0-0-2 s=255,c=3,t=15,pt=6,l=2,sg=0:0100
TSP:MSG:READ 0-0-2 s=255,c=3,t=6,pt=0,l=1,sg=0:M
TSP:MSG:SEND 2-2-0-0 s=255,c=3,t=11,pt=0,l=18,sg=0,ft=0,st=ok:Window Open Sensor
TSP:MSG:SEND 2-2-0-0 s=255,c=3,t=12,pt=0,l=3,sg=0,ft=0,st=ok:2.7
TSP:MSG:SEND 2-2-0-0 s=1,c=0,t=6,pt=0,l=17,sg=0,ft=0,st=ok:WOS - Temperature
TSP:MSG:SEND 2-2-0-0 s=2,c=0,t=7,pt=0,l=14,sg=0,ft=0,st=ok:WOS - Humidity
TSP:MSG:SEND 2-2-0-0 s=3,c=0,t=0,pt=0,l=18,sg=0,ft=0,st=ok:WOS - Reed contact
Request registration...
TSP:MSG:SEND 2-2-0-0 s=255,c=3,t=26,pt=1,l=1,sg=0,ft=0,st=ok:2
TSP:MSG:READ 0-0-2 s=255,c=3,t=27,pt=1,l=1,sg=0:1
Node registration=1
Init complete, id=2, parent=0, distance=1, registration=1
Wake up - now minute 0
TempDiff :0.01
HumDiff  :0.00
TSP:MSG:SEND 2-2-0-0 s=255,c=3,t=22,pt=5,l=4,sg=0,ft=0,st=ok:375
Wake up - now minute 1
TempDiff :0.04
HumDiff  :0.50
TSP:MSG:SEND 2-2-0-0 s=255,c=3,t=22,pt=5,l=4,sg=0,ft=0,st=ok:926
Wake up - now minute 2
TempDiff :0.11
HumDiff  :1.00
T: 22.91
H: 63
TSP:MSG:SEND 2-2-0-0 s=1,c=1,t=0,pt=7,l=5,sg=0,ft=0,st=ok:22.9
TSP:MSG:SEND 2-2-0-0 s=2,c=1,t=1,pt=2,l=2,sg=0,ft=0,st=ok:63
TSP:MSG:SEND 2-2-0-0 s=255,c=3,t=22,pt=5,l=4,sg=0,ft=0,st=ok:1475
Wake up - now minute 3
TempDiff :0.02
HumDiff  :0.00
TSP:MSG:SEND 2-2-0-0 s=255,c=3,t=22,pt=5,l=4,sg=0,ft=0,st=ok:2007
Wake up - now minute 4
TempDiff :0.03
HumDiff  :0.00
TSP:MSG:SEND 2-2-0-0 s=255,c=3,t=22,pt=5,l=4,sg=0,ft=0,st=ok:2540
Wake up - now minute 5
TempDiff :0.08
HumDiff  :0.00
TSP:MSG:SEND 2-2-0-0 s=255,c=3,t=22,pt=5,l=4,sg=0,ft=0,st=ok:3070
Wake up - now minute 6
TempDiff :0.19
HumDiff  :0.50
TSP:MSG:SEND 2-2-0-0 s=255,c=3,t=22,pt=5,l=4,sg=0,ft=0,st=ok:3607
Wake up - now minute 7
Brown-Out Detection
The problem
The problem: once the added voltage of both batteries nears 2.4 Volt, the module stops working. Probably this is caused by the Brown Out Detection (BOD).
A standard Arduino Pro Mini 3.3V 8MHz has a e-fuse value of 0xFD, which means that the device refuses to work if the VCC goes below 2.7 Volt. That means that it will not work with 2 AAA rechargeable MiNH batteries, which give at most 1.3 Volt each. So, we would like to change this value.
The solution
The default value of the e-fuse for an Arduino Pro Mini is 0xFD, which means 2.7V brown-out detection. Changing the value into 0xFE means 1.8V, acceptable for our case with 2 batteries. Alternatively, brown-out detection can be disabled completely with the value 0xFF.
The fuses of an ATmega328P can be set with an ISP, not with the normally used Arduino serial connection.
We make use of the USBtinyISP programmer.
Permission problems
On my OpenSuse system, i had permission problems.
I got the following problem:
avrdude -p m328p -c usbtiny -b 19200 -U efuse:r:-:h -v

avrdude: Version 6.3, (openSUSE Buildservice)
     Copyright (c) 2000-2005 Brian Dean, http://www.bdmicro.com/
     Copyright (c) 2007-2014 Joerg Wunsch

     System wide configuration file is "/etc/avrdude.conf"
     User configuration file is "/home/michiel/.avrduderc"
     User configuration file does not exist or is not a regular file, skipping

     Using Port                    : usb
     Using Programmer              : usbtiny
     Overriding Baud Rate          : 19200
avrdude: usbdev_open(): Found USBtinyISP, bus:device: 001:017
avrdude: Warning: cannot open USB device: Permission denied
avrdude: Error: Could not find USBtiny device (0x1781/0xc9f)

avrdude done.  Thank you.
See the "Permission denied"!
The solution:
michiel@Delphinus:~> lsusb
Bus 002 Device 001: ID 1d6b:0003 Linux Foundation 3.0 root hub
Bus 001 Device 004: ID 0a5c:5842 Broadcom Corp. 58200
Bus 001 Device 003: ID 0bda:565c Realtek Semiconductor Corp. Integrated_Webcam_HD
Bus 001 Device 014: ID 093a:2521 Pixart Imaging, Inc. Optical Mouse
Bus 001 Device 016: ID 0403:6001 Future Technology Devices International, Ltd FT232 Serial (UART) IC
Bus 001 Device 017: ID 1781:0c9f Multiple Vendors USBtiny
Bus 001 Device 005: ID 8087:0026 Intel Corp.
Bus 001 Device 001: ID 1d6b:0002 Linux Foundation 2.0 root hub
michiel@Delphinus:~> sudo chmod 666 /dev/bus/usb/001/017
[sudo] password for root:
michiel@Delphinus:~>
Found at: https://andreasrohner.at/posts/Electronics/How-to-fix-device-permissions-for-the-USBasp-programmer/
Supply voltage
Since the target is a 3.3V device, it would be best to use a 3.3V compatible programmer, too. The USBtinyISP (since version 2) makes use of 3-state buffers for the signal lines, and has a jumper that can be removed to disconnect the 5V from the USB port from the target.
Programming the fuses with Platformio
WARNING!! This ruins the module!!!
Connection of a "USBtinyISP" programmer
This to program the fuses of the Sensebender for a more suitable BOD
michiel@arion:~/..../WindowOpenSensor> pio run -t fuses -e custom_fuses
Processing custom_fuses (platform: atmelavr; framework: arduino; board: pro8MHzatmega328)
-------------------------------------------------------------------------------------------------------------------------------------------------------
Verbose mode can be enabled via `-v, --verbose` option
CONFIGURATION: https://docs.platformio.org/page/boards/atmelavr/pro8MHzatmega328.html
PLATFORM: Atmel AVR (2.2.0) > Arduino Pro or Pro Mini ATmega328 (3.3V, 8 MHz)
HARDWARE: ATMEGA328P 8MHz, 2KB RAM, 30KB Flash
DEBUG: Current (simavr) On-board (simavr)
PACKAGES:
- framework-arduino-avr 5.0.0
- tool-avrdude 1.60300.200527 (6.3.0)
- toolchain-atmelavr 1.50400.190710 (5.4.0)
Converting WindowOpenSensor.ino
LDF: Library Dependency Finder -> http://bit.ly/configure-pio-ldf
LDF Modes: Finder ~ chain, Compatibility ~ soft
Found 5 compatible libraries
Scanning dependencies...
Dependency Graph
|-- <Wire> 1.0
|-- <SPI> 1.0
Building in release mode
Selected fuses: [lfuse = 0xFF, hfuse = 0xDA, efuse = 0xFE]
Setting fuses

avrdude: AVR device initialized and ready to accept instructions

Reading | ################################################## | 100% 0.01s

avrdude: Device signature = 0x1e950f (probably m328p)
avrdude: erasing chip
avrdude: reading input file "0x0f"
avrdude: writing lock (1 bytes):

Writing | ################################################## | 100% 0.01s

avrdude: 1 bytes of lock written
avrdude: verifying lock memory against 0x0f:
avrdude: load data lock data from input file 0x0f:
avrdude: input file 0x0f contains 1 bytes
avrdude: reading on-chip lock data:

Reading | ################################################## | 100% 0.00s

avrdude: verifying ...
avrdude: 1 bytes of lock verified
avrdude: reading input file "0xDA"
avrdude: writing hfuse (1 bytes):

Writing | ################################################## | 100% 0.01s

avrdude: 1 bytes of hfuse written
avrdude: verifying hfuse memory against 0xDA:
avrdude: load data hfuse data from input file 0xDA:
avrdude: input file 0xDA contains 1 bytes
avrdude: reading on-chip hfuse data:

Reading | ################################################## | 100% 0.00s

avrdude: verifying ...
avrdude: 1 bytes of hfuse verified
avrdude: reading input file "0xFF"
avrdude: writing lfuse (1 bytes):

Writing | ################################################## | 100% 0.01s

avrdude: 1 bytes of lfuse written
avrdude: verifying lfuse memory against 0xFF:
avrdude: load data lfuse data from input file 0xFF:
avrdude: input file 0xFF contains 1 bytes
avrdude: reading on-chip lfuse data:

Reading | ################################################## | 100% 0.00s

avrdude: verifying ...
avrdude: 1 bytes of lfuse verified
avrdude: reading input file "0xFE"
avrdude: writing efuse (1 bytes):

Writing | ################################################## | 100% 0.00s

avrdude: 1 bytes of efuse written
avrdude: verifying efuse memory against 0xFE:
avrdude: load data efuse data from input file 0xFE:
avrdude: input file 0xFE contains 1 bytes
avrdude: reading on-chip efuse data:

Reading | ################################################## | 100% 0.00s

avrdude: verifying ...
avrdude: 1 bytes of efuse verified

avrdude: safemode: Fuses OK (E:FE, H:DA, L:FF)

avrdude done.  Thank you.

============================================================= [SUCCESS] Took 0.89 seconds =============================================================

Environment    Status    Duration
-------------  --------  ------------
custom_fuses   SUCCESS   00:00:00.888
============================================================= 1 succeeded in 00:00:00.888 =============================================================
You have new mail in /var/spool/mail/michiel
michiel@arion:~/..../WindowOpenSensor>